


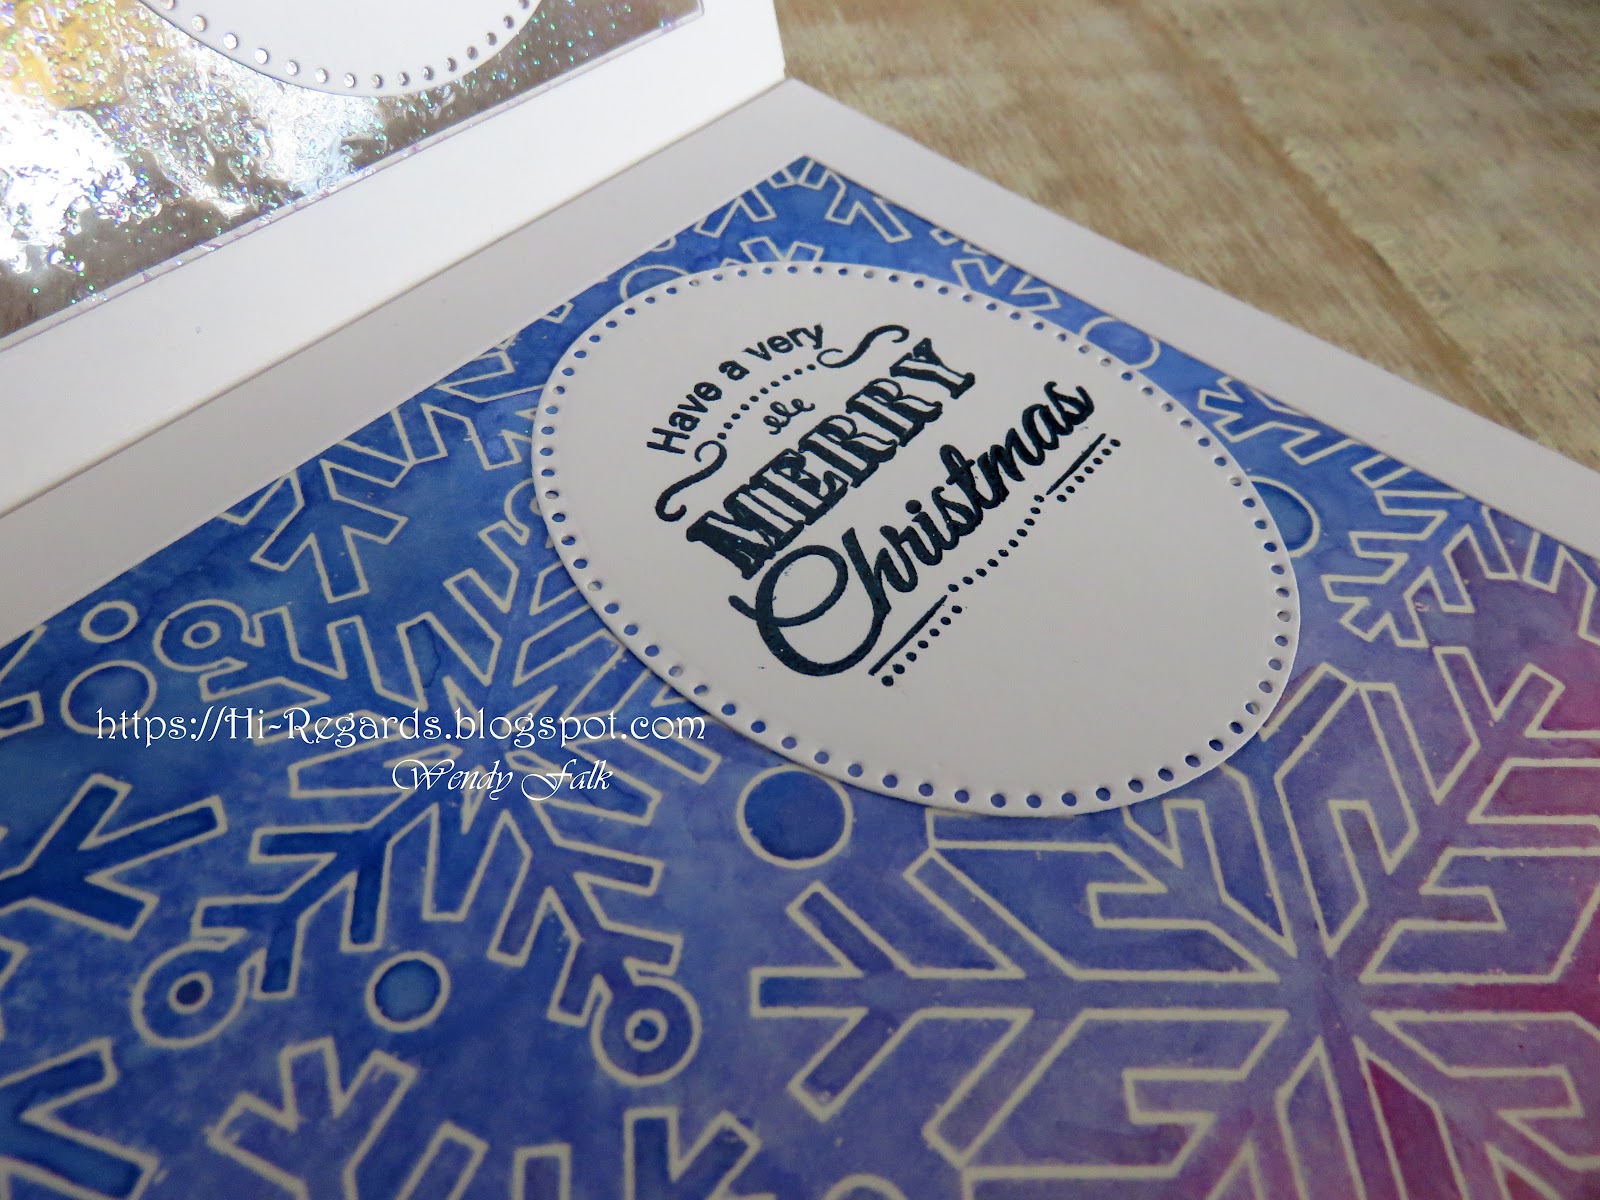
Snow is such a fun theme to work with. There are so many styles of snow too. This gorgeous background stamp is from Simon Says Stamp and works great in a variety of ways. Here is an example of an iron off technique that leaves the paper silky smooth after first clear heat embossing & applying lots of water color.

I have also discovered another great benefit to iron-off embossing is the biproduct, sheet of "transfer" paper. I will quickly describe the process below if you are not familiar with it and link a fun YouTube video I found very helpful!
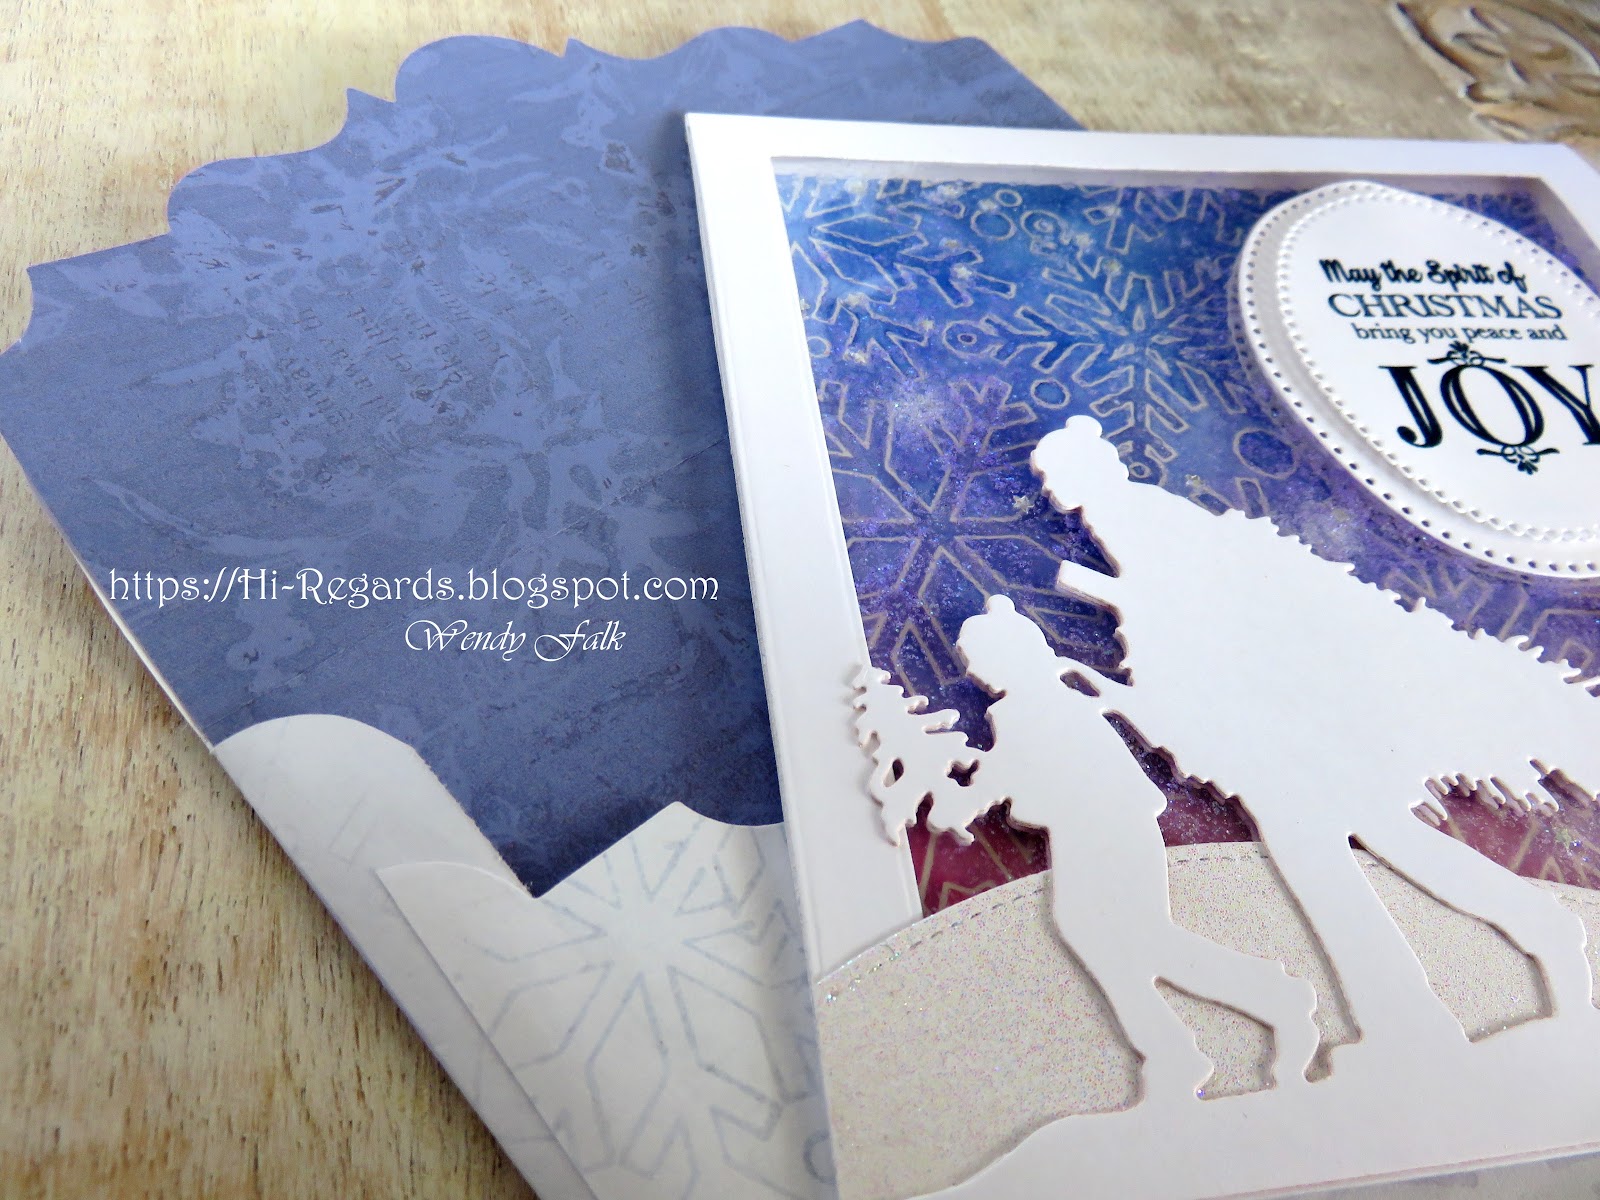
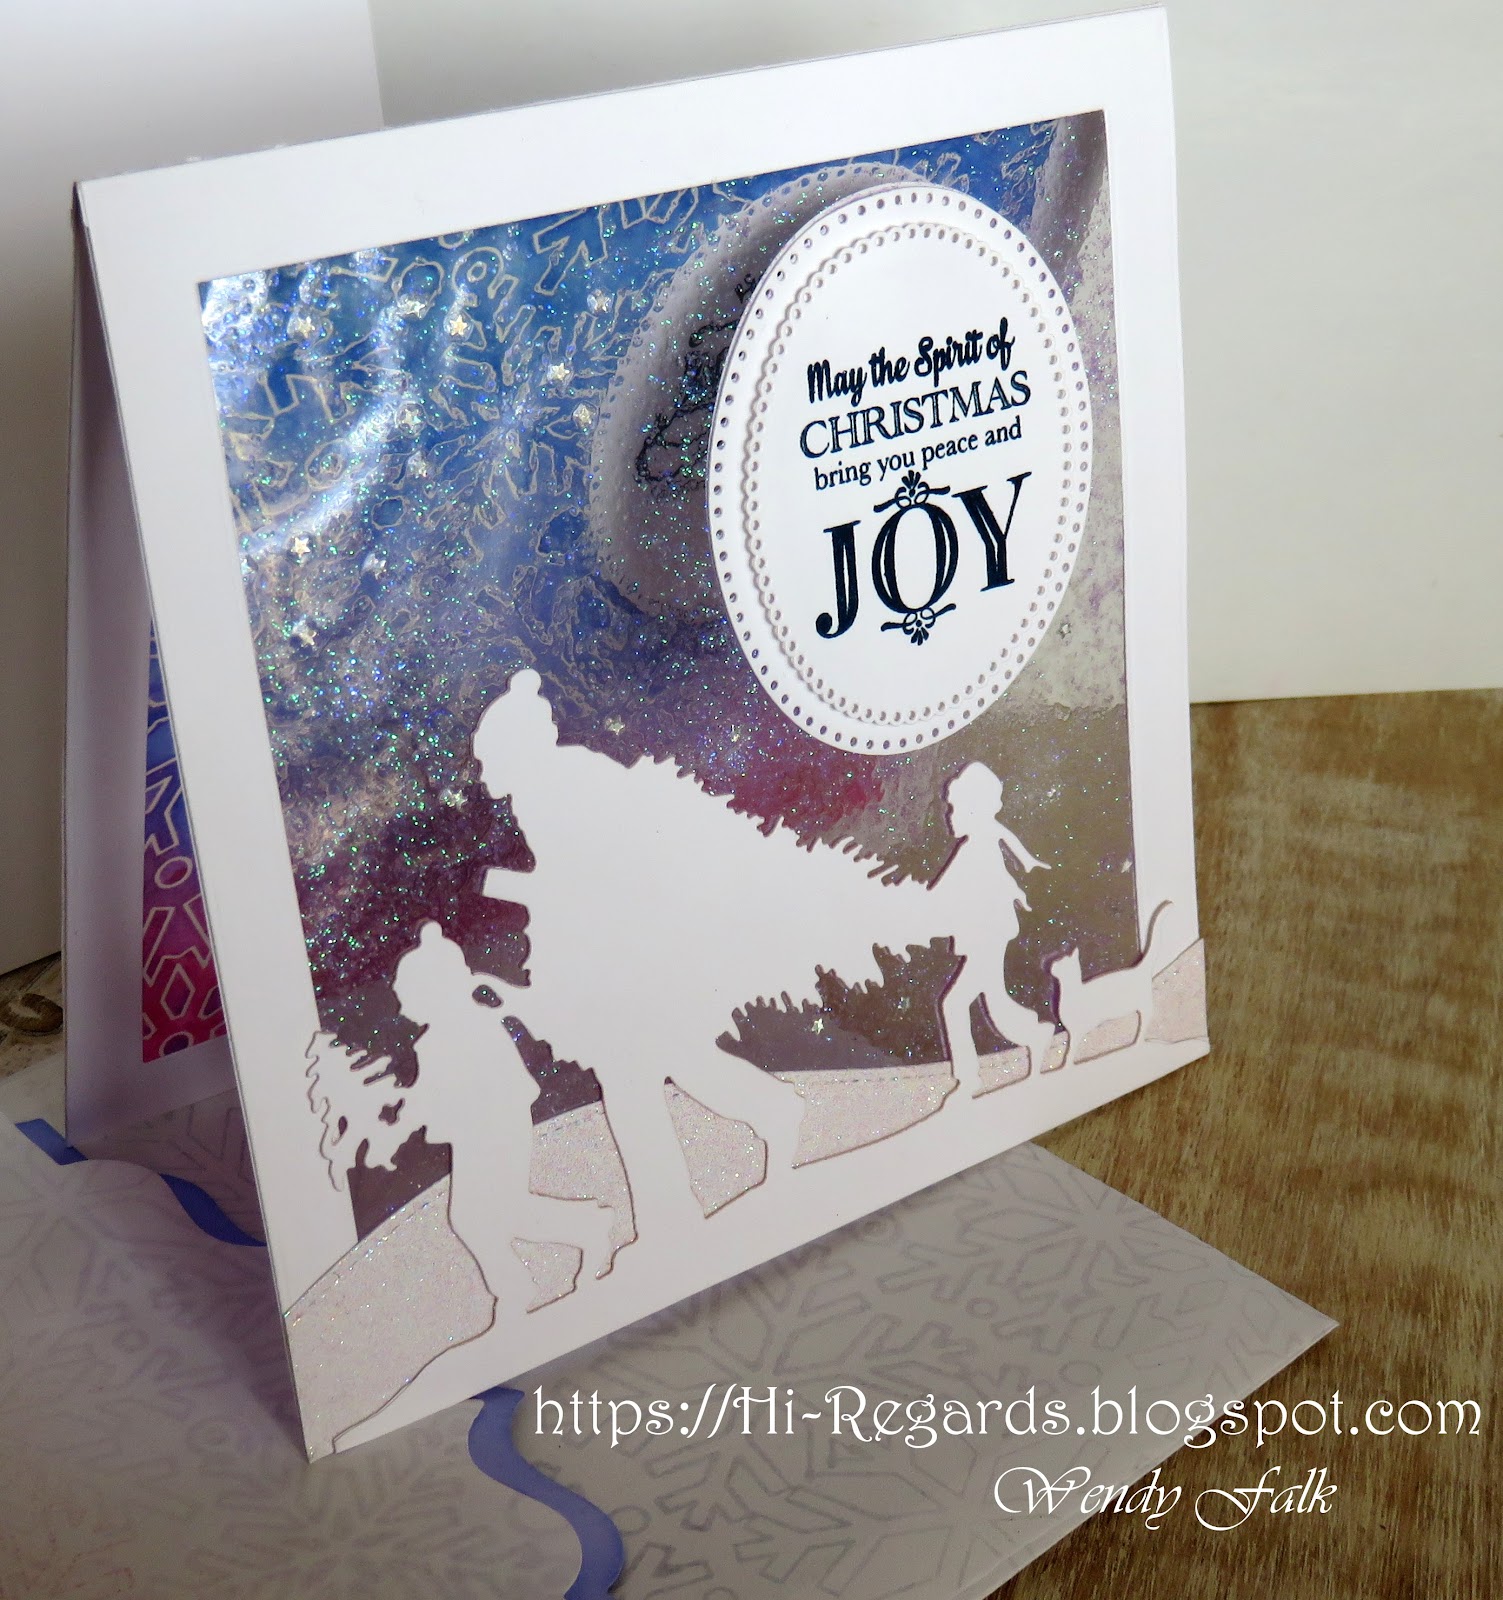
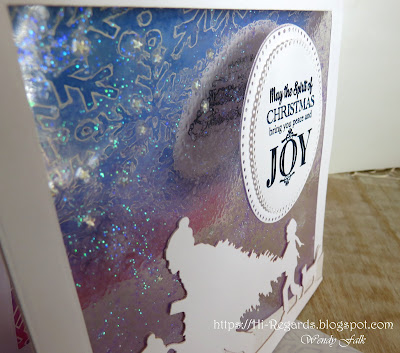
The clear front of the card is the result of glittering the inside of a laminating pouch, laminating and then cutting it to size before "trapping" it in a paper frame. I LOVE the icy look it leaves!! I added my silhouette die-cuts and finished the back with the same die-cuts to hide the adhesives!

I will be sharing lots of ideas with laminating pouches! I have found them to be addictive and the unique results are clear! (ha!! pun intended!!) Lots of beautiful ways to use them in every season! Each time I discover something new I can do with them it leads to more experiments and more inspiring ideas! The price point is great too. The laminator was only $20 and the sheets I found were about $17 for a box of 200/3ml!!
Thanks for stopping by! I really enjoy your comments so please feel free to share your thoughts and ideas below. Have a great day!!

- clear heat emboss your image on heavy cardstock or watercolor paper
- Saturate your image/paper with inks (water reactive colors)
- Spray with water (more water to make colors move around a lot, less for a subtle or speckly look - I used lots of water & swirled it around)
- After the paper is thoroughly dry use an iron on its hottest setting to remove the embossing. Use a stack layered like this: bottom - thin dish towl (to protect your flat hard surface. I use a glass cutting board), middle - project with image facing up, top - a sheet of copy paper on top of entire image (make sure your iron only ever touches the copy paper on the top of the stack.
- Iron slowly without letting the top paper move and all of the embossing powder will wick up and transfer to the copy paper, leaving a faint, nearly clear outline. Once you can see the transfer is occurring you can lift the paper. If it cools first it will stick to your project so I lift the copy paper right as I lift the iron. Inspect your original for any shiny spots. If there are, iron them off with a fresh piece of paper.
iron off video: https://www.youtube.com/watch?v=d3BiE8GyB1c
