Community Favorites

Saturday, April 23, 2022

Lining it Up

 It is no secret that I am in love with linear stamps and stamping!!  I love making my own plaid patterns with these same/similar stamps!  I love the way the masked columns of Distress Oxide Ink make light and dark variations - - similar to how I see light play on water.  And then adding "liquid" lines of heat embossed metallics... simply so addictive!!  It is always rewarding, always breath taking, to see the random & endless play of color and texture. 

This post is mostly just sharing the finished products of my earlier efforts.  If you would like more description here are links to 2 other blog posts & how I accomplished the look 💗 

https://hi-regards.blogspot.com/2018/09/addicted-to-linear-border-stamps.html

https://hi-regards.blogspot.com/2017/08/stripes-fun-with-linear-stamps-and.html

Experimenting with vertical vs. horizontal on blues
Before I trimmed & attached this b-fly I tried it on a couple of color combinations. 
With these beautiful Oxide inks, the colors morph & blend so much they look great
with many combinations

All of the colored embossing powder has a shimmering metallic
finish similar to the silver & gold.  It is from Lindy's Stamp Gang
Well, I always have a reason to give thanks, so I try to keep a large stock of cards saying so in my inventory!  I am thankful for you and glad that you stopped by!

Monday, April 18, 2022

A Day Full of Friendship

Well, it's been nearly a year since my little Georgia married the love of her life and I'm just getting back to crafting & posting some of my projects!  Before I completely move on I thought I would share the shower invites.

What I like most about these Shower invites is the Golden Angel Wings embossing powder from Lindy's Stamp Gang.  It is one of  those rare and unique finishes that shimmers with a translucent glow over various colors creating soooo many variants.  

I wanted to take a quick second to share how beautifully this embossing powder changes depending what it is applied over.

  • The first example is over deep blue (one of her wedding scheme colors)
  • the second (looking purplish) is over deep dark BROWN!
  • the 3rd is over a creamy caramel
I also tried it with clear ink and it was mostly a shimmering clear golden effect and over dark green it stayed mostly dark green!!  

It was so much fun making these.  They were simple with the invite and RSVP info on the back but we were able to customize the colors and I really loved the sentiments. 

Her day - a year later - is still a beautiful memory of joy, laughter and love that we got to share with so many close friends and family.

If you're looking for some portion of the stamps I used on these shower invitations I've kept it easy since most all of the stamps are from Unity Stamp Co.  (again!)  The fluffy dresses, the raining hearts (clipped from the bottom of a cloud), the scalloped frame, the sentiments  💗  


Saturday, April 16, 2022

He has Risen Indeed!!

Sharing the joy as my family and I celebrate that "HE IS RISEN!"
I love the soft look the Distress Oxide  used as a watercolor on this clear embossed "iron-off" Easter card.  I love the look of iron-off and I use it to make a lot of smooth backgrounds. If you haven't ever tried it, let me warn you... it's addictive!!  It's also easy!  Here's how:
  1. Clear heat emboss your image onto paper.  I have used water color paper, heavy card stock (110lb), and lightweight (85lb) and all have worked well for me, but there are slight variations between regular and watercolor papers.  Today's roses are on light weight cardstock.
  2. Paint your paper with water reactive color.  In this example I used a paint brush to apply watery color with a splooshy effect --- respecting the outlines.  Pre Colored sprays will give you a more random look
  3. Spritz with a little water and let dry (to some of these I added shimmer powder to the water!)
  4. use a heat safe surface, placing the image face up and covering completely with a clean piece of copy paper before ironing over it (on high heat)
All of the clear embossing will be absorbed into the copy paper leaving your original image smooth and flat!  Where the embossing used to be will be white (or the color of your paper) outlines.  It is so pretty because of the way the water color appears to have pooled without line barriers!  

I think the softly pooling colors look excellent with this English Rose design.  I have also found that any image without much detail does not work well as there is too much resist (the embossed areas) and not enough space for color to beautifully pool.  

You may choose to add color in large blocks or blobs directly from the ink pad or spray bottle with equally beautiful results!  If you're using regular paper be sure not to over work it as it will pill with lots of liquid, but the curling can be reduced by anchoring your paper to a flat surface.  The ironing also restores the paper to a nice, smooth flatness!!

If you're using watercolor paper it is a good idea to anchor it to a surface and saturate with color.  Then you can heavily spray it with water and get a lot of movement in the colors - even removing harsh lines from the original inking!


I have found that even my "fails" turn out so pretty!! Oh, here's another hint.  If you like the white lines to be more "blobby" then press your versamarked stamp with MORE pressure. This will spread out the lines as you squish the rubber down to the paper!  If you like a more crisp line then be sure to ink 2 or 3 times - with LESS pressure.  You'll know as soon as you slide the embossing powder across it and can adjust your pressure from there!

Thank You for Stopping by!

#heatembossing #cards #cardmaking #greetingcards #rubberstamping #Spring #papercrafts #paper #papercraftdesign #hinotes #timholtz #Ranger #oxideinks #distressink #ironoffembossing #unitystampco #englishrose

Saturday, April 9, 2022

Slim Line Note Card Keeper


I had so much fun making Alana personalized Note Cards I thought it would be good to make her a box to keep them in.  

I love the "slim line" shape so it was really fun to see this box come to life!  I made it about 1/2 an inch larger than the cards so they wouldn't fit too tightly.

A ribbon is anchored on the inside bottom.  It can be pulled to easily lift the cards if they're too nestled for fingers to pry them out!  Alana can use it for future items too, like photos, etc.  

I don't know if there is a name for the method of box building I use, but to get crisp and sturdy sides I like to cut each side piece separately. then line the edges of the box bottom with masking tape and put the sides in place on the exposed tape.  It's super fast and simple to then fold up the sides into the box shape and fortify the outside with a few strips of tape.

Before adding decorative paper I like to decide if I want the corner fortifiers to be on top of the papers as decoration or under, and invisible.  If they won't show then they go in first and if they are to be decoration then I add them last.  I follow the same plan for the box top making it about 1/16th inch larger than the top.  

For this box I hid all the corner reinforcements except for the outside only on the box top. I used a die cut scroll to accent as it reinforced! 
Another fun idea is to add "feet" to the box.  Sometimes I use large beads or the actual "feet hardware" you can buy for making miniature furniture!  This time I just used half round glass 'blobs' for a low profile look!


It really makes a difference in the feel of the finished project and the sound it makes when it's set down is very satisfying!  Try it, you'll see!!!!

I will share a better tutorial concerning the construction of boxes.  They are fun and easy & lovely when you just want to try using die shapes & embellishments in new ways.  Therapeutic really!

Tuesday, April 5, 2022

personalized note cards

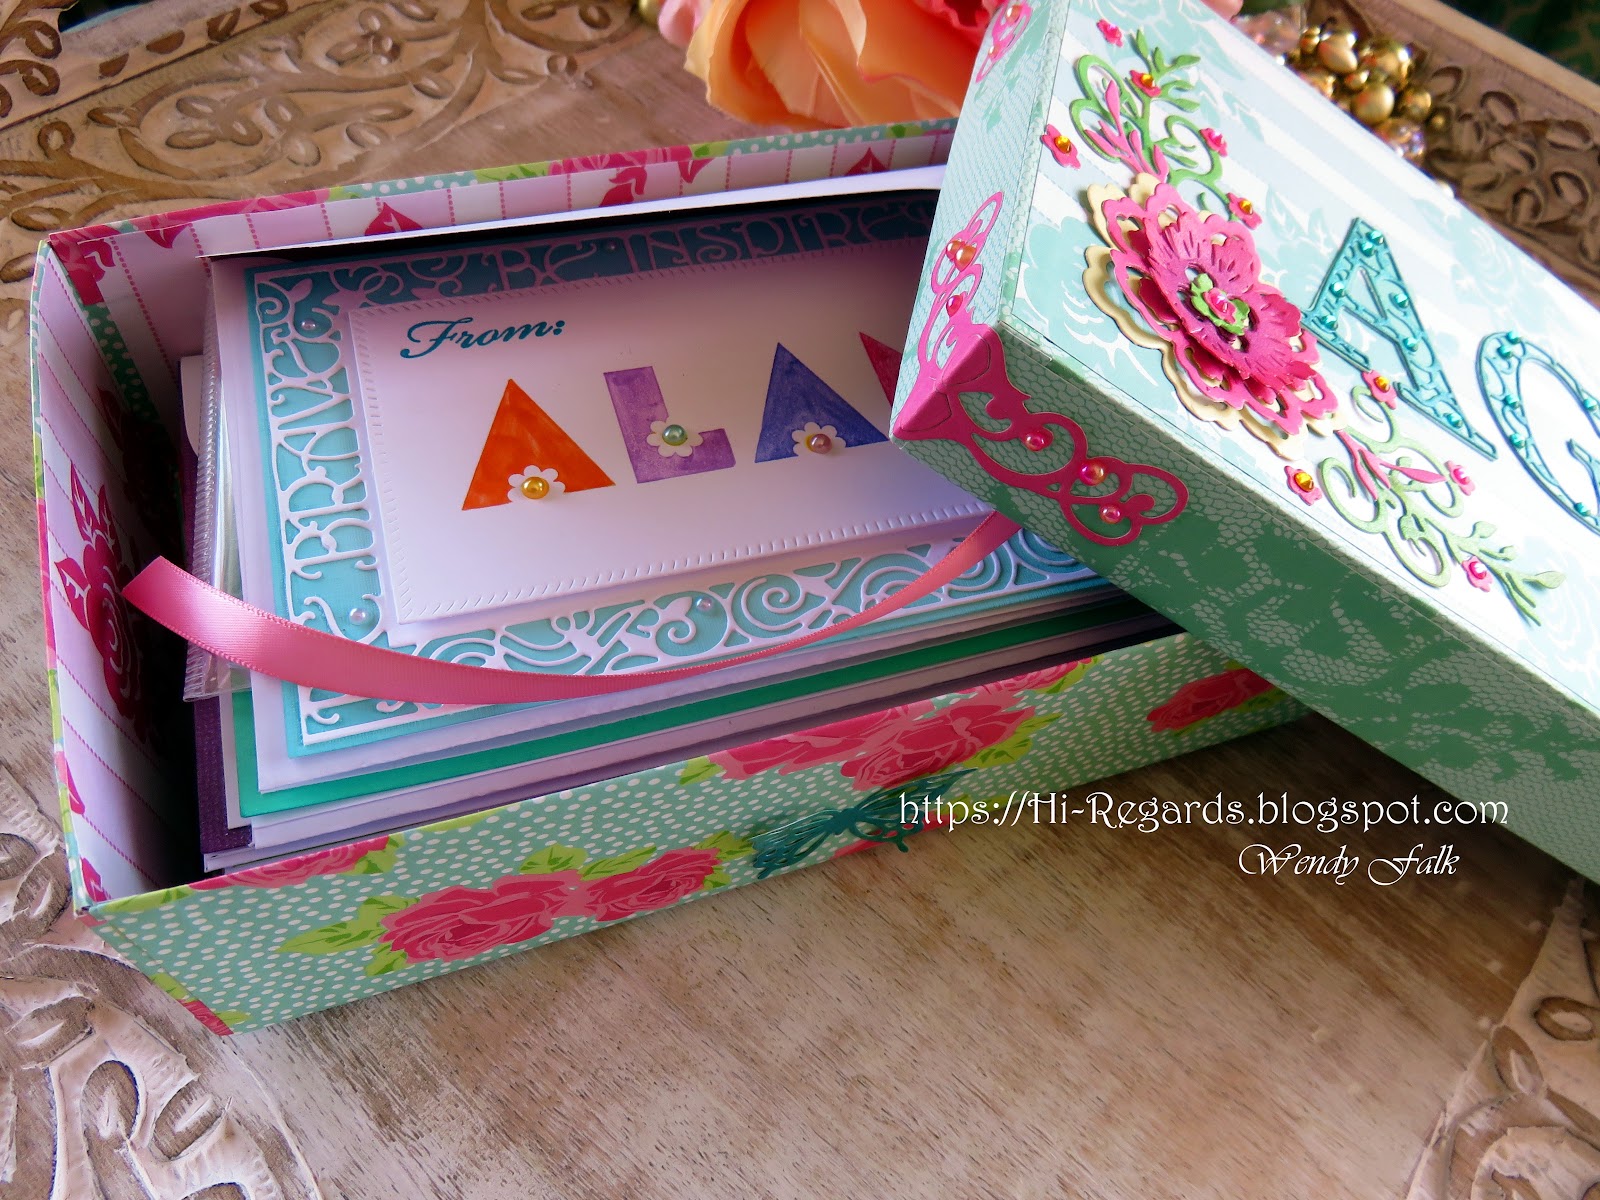
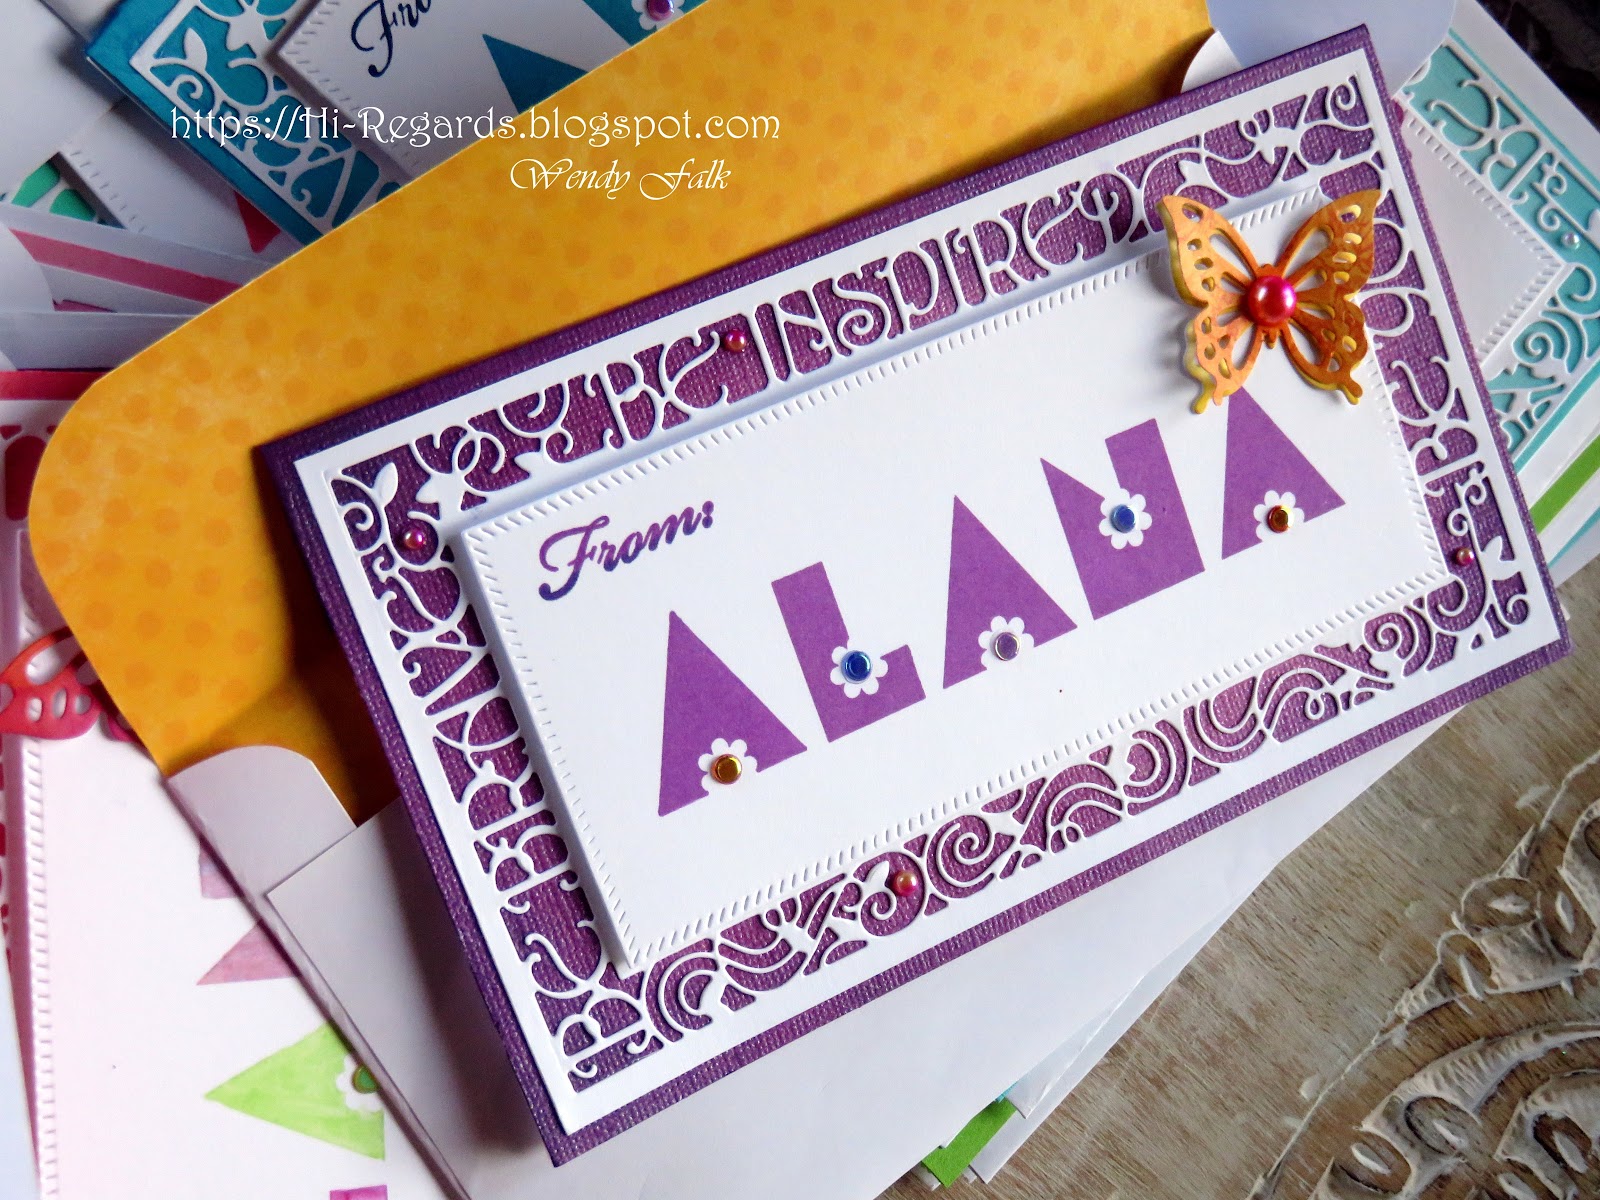
After weeks of snow and sub zero temperatures a little ray of sunshine popped into my office at work just to say "Hi!".  What a happy surprise to see one of my favorite people and she inspired me to make something full of Spring, Sunshine and Color! Some "Hi!" Notes!!
I started with one of my favorite alphabet stamp sets, lined up L, A, N, A in my MISTI and stamped out 10 of them on die cut rectangles. 
 
With this set the A and the V are identical so I was only one letter short.  I left the space for it and after stamping the LANA, I went back and stamped all of the missing A's.  This made the whole process go very fast!

I did plan to clear emboss all of the letters after stamping them in color by going back with VersaMark ink and re-stamping each card, but I forgot and pulled the stamps off the MISTI.  I didn't want to realign every letter and I didn't want it to be even a fraction off so I left them soft instead of shiny!!  I also could've gone in with my embossing pen, but I don't have enough faith in having a steady hand. 


 I mention this because I think we all run into glitches when we're crafting and it's fun to share how we deal them!! 
 I do love the way these turned out!  


I chose a mat color for each card front and die cut an edge just beyond the fold.  I like doing this so I can conserve my more expensive colored cardstock and use white for the inside of each card.  I also really like the way it jazzes up the back of the card.  Sometimes I put the decorated edge on the inside of the card, just remember to plan the cut so that the right side of the die cut is what will show.
Then it is just a simple matter of inking edges, adding dimensional tape and adhering everything together!
I had so much fun making these, they were like a burst of fresh air after the long winter!  Adding the butterflies and gems was also a treat!  All the Spring colors and sparkles!  I did take the time to stamp the dots in the flowers separately but wound up covering them all so it didn't make a difference.  I could've just added a dot of embossing powder or some Nuvo drops for the flower centers.  With so many rewarding options I wound up going for flat, no hole sequins on some; gems and/or pearls on others. 


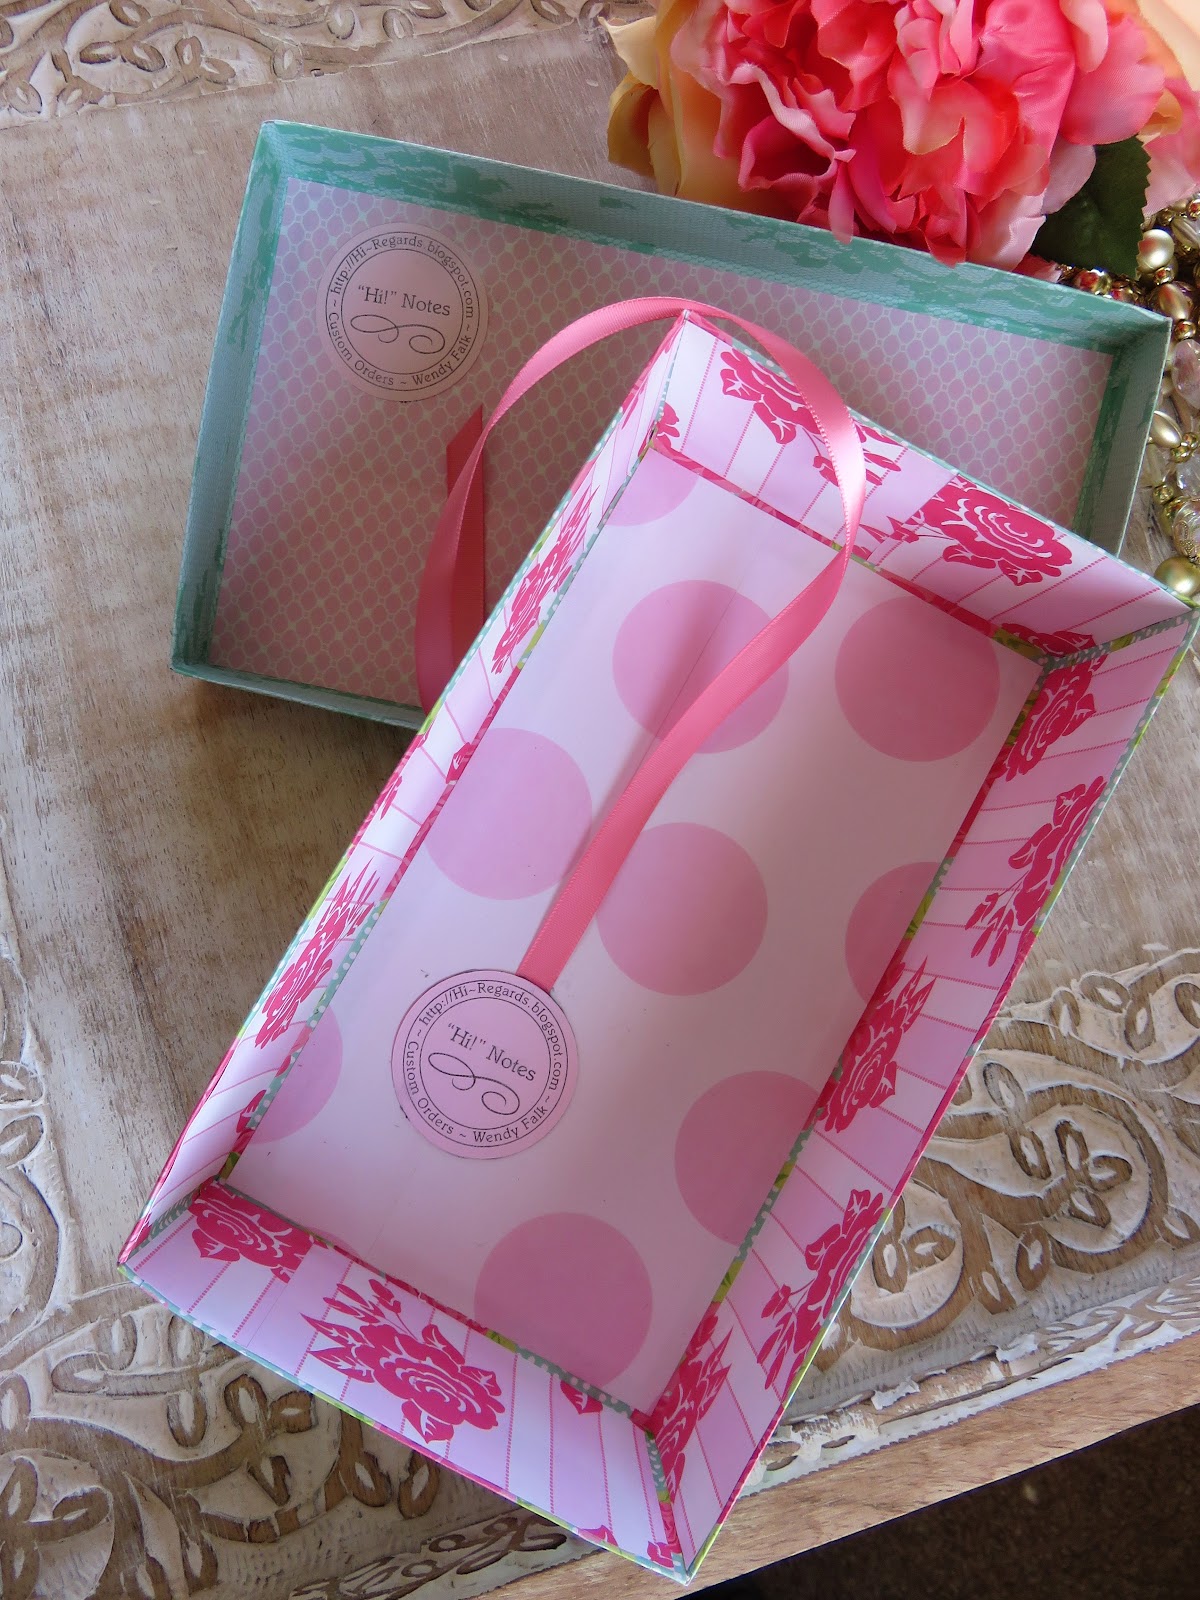
I hope you have a colorful Spring! I will be making a box for Alana to keep these in 💙 I will share that soon!!