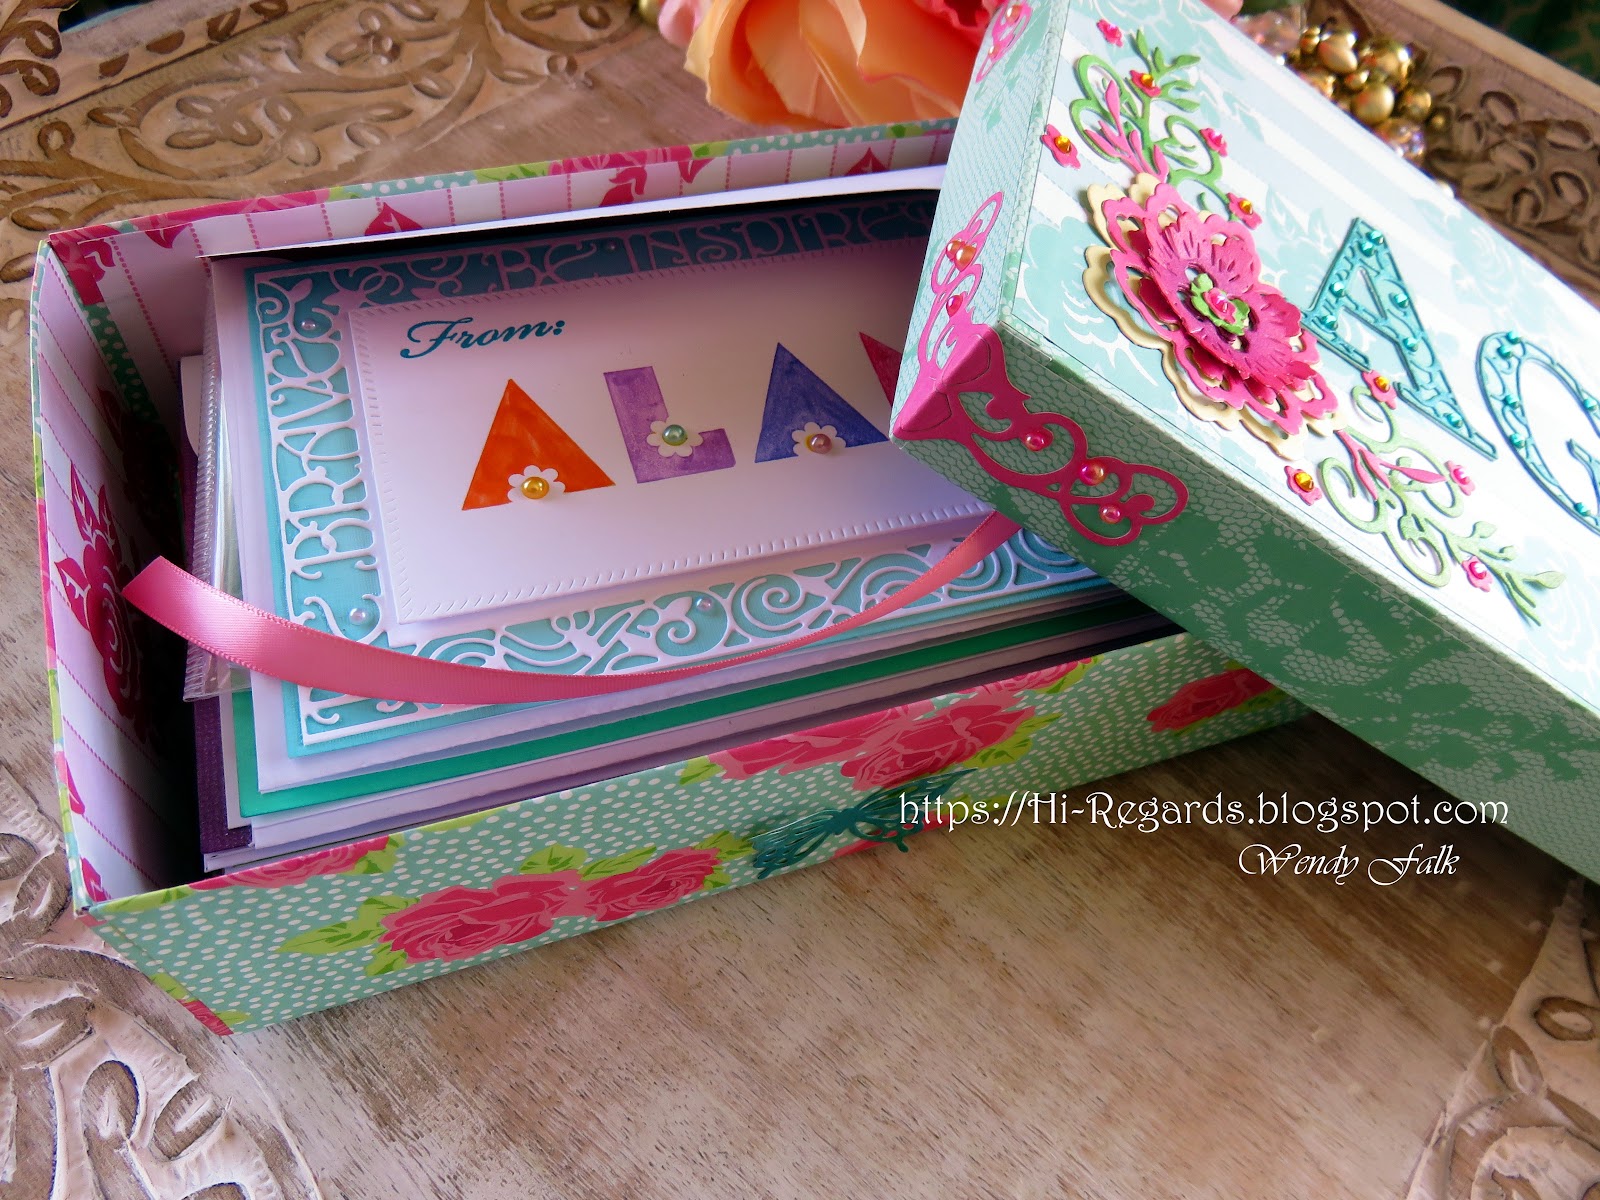
I had so much fun making Alana personalized Note Cards I thought it would be good to make her a box to keep them in.
I love the "slim line" shape so it was really fun to see this box come to life! I made it about 1/2 an inch larger than the cards so they wouldn't fit too tightly.
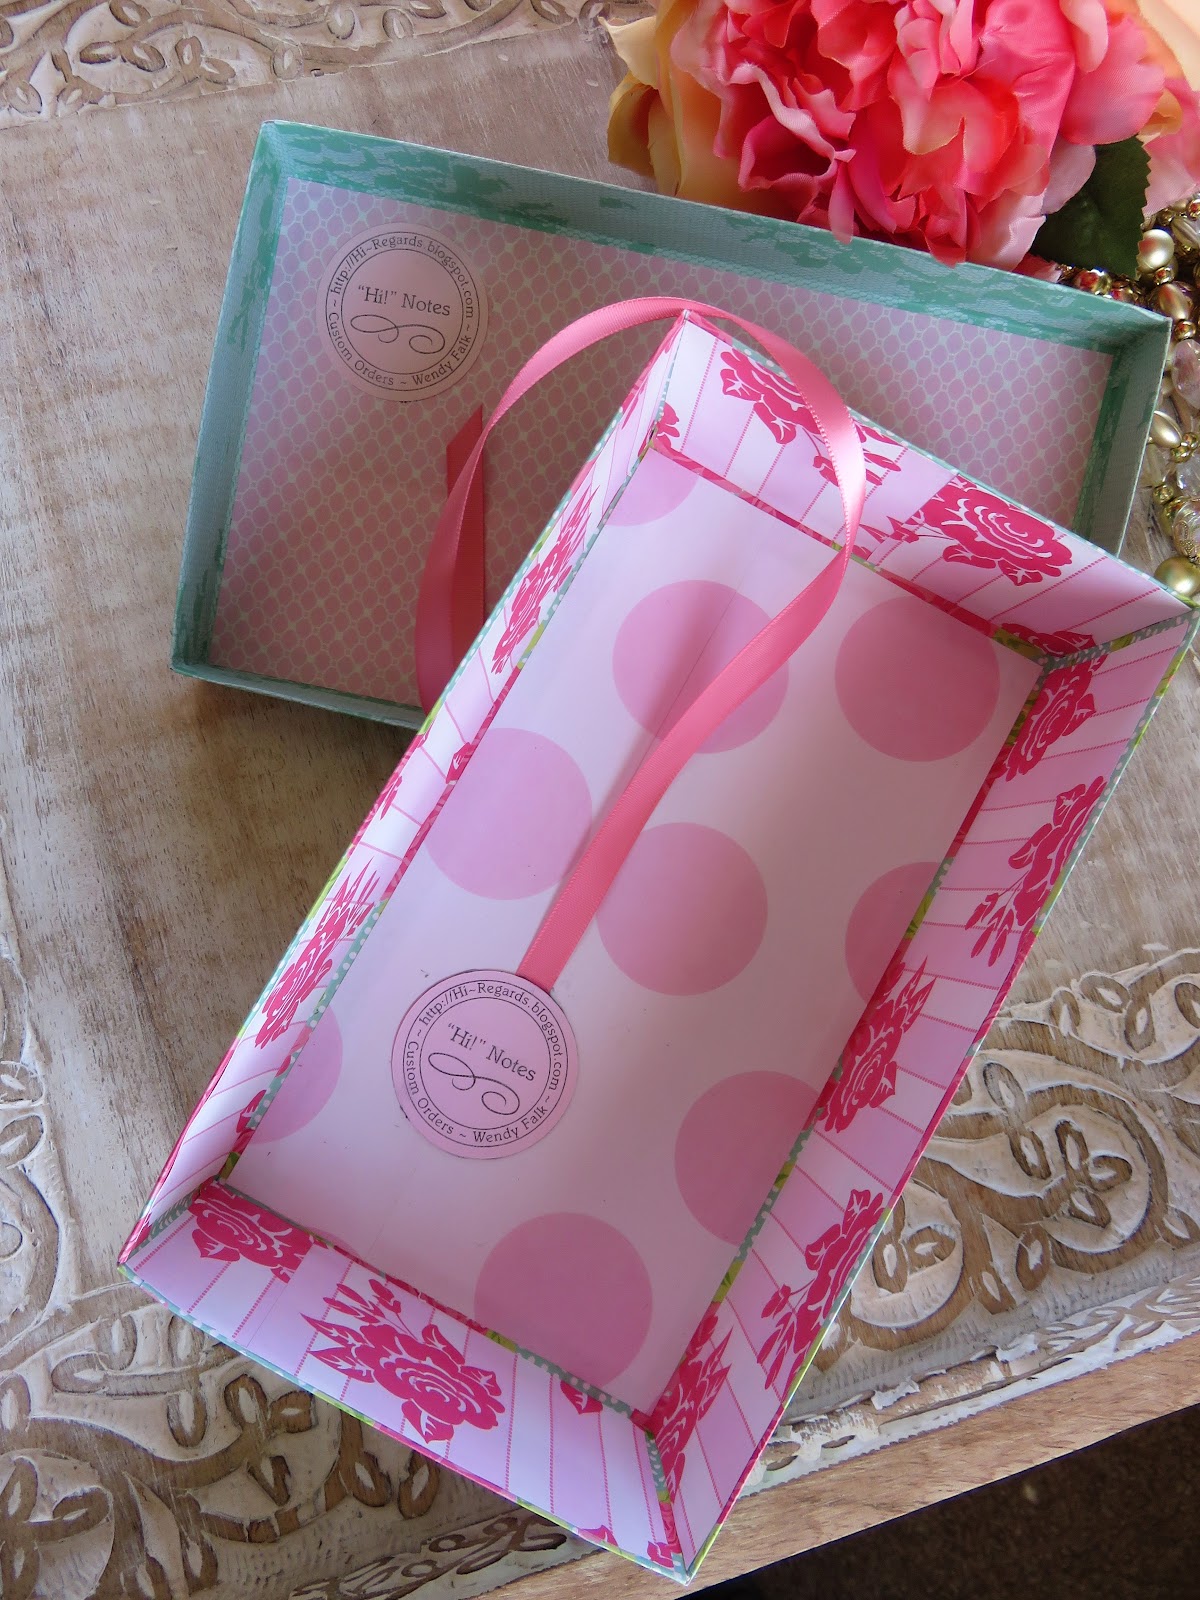
A ribbon is anchored on the inside bottom. It can be pulled to easily lift the cards if they're too nestled for fingers to pry them out! Alana can use it for future items too, like photos, etc.
I don't know if there is a name for the method of box building I use, but to get crisp and sturdy sides I like to cut each side piece separately. then line the edges of the box bottom with masking tape and put the sides in place on the exposed tape. It's super fast and simple to then fold up the sides into the box shape and fortify the outside with a few strips of tape.Before adding decorative paper I like to decide if I want the corner fortifiers to be on top of the papers as decoration or under, and invisible. If they won't show then they go in first and if they are to be decoration then I add them last. I follow the same plan for the box top making it about 1/16th inch larger than the top.
For this box I hid all the corner reinforcements except for the outside only on the box top. I used a die cut scroll to accent as it reinforced!
 Another fun idea is to add "feet" to the box. Sometimes I use large beads or the actual "feet hardware" you can buy for making miniature furniture! This time I just used half round glass 'blobs' for a low profile look!


No comments:
Post a Comment
Thanks for taking the time to comment. I LOVE hearing from you!! If you would like to place an order please leave your comment here or PM me on Facebook.com Wendy Falk. I'll get back to you ASAP.