Community Favorites

Showing posts with label Spellbinders. Show all posts

Sunday, September 18, 2022

Making it Clear


Snow is such a fun theme to work with.  There are so many styles of snow too.  This gorgeous background stamp is from Simon Says Stamp and works great in a variety of ways.  Here is an example of an iron off technique that leaves the paper silky smooth after first clear heat embossing & applying lots of water color.

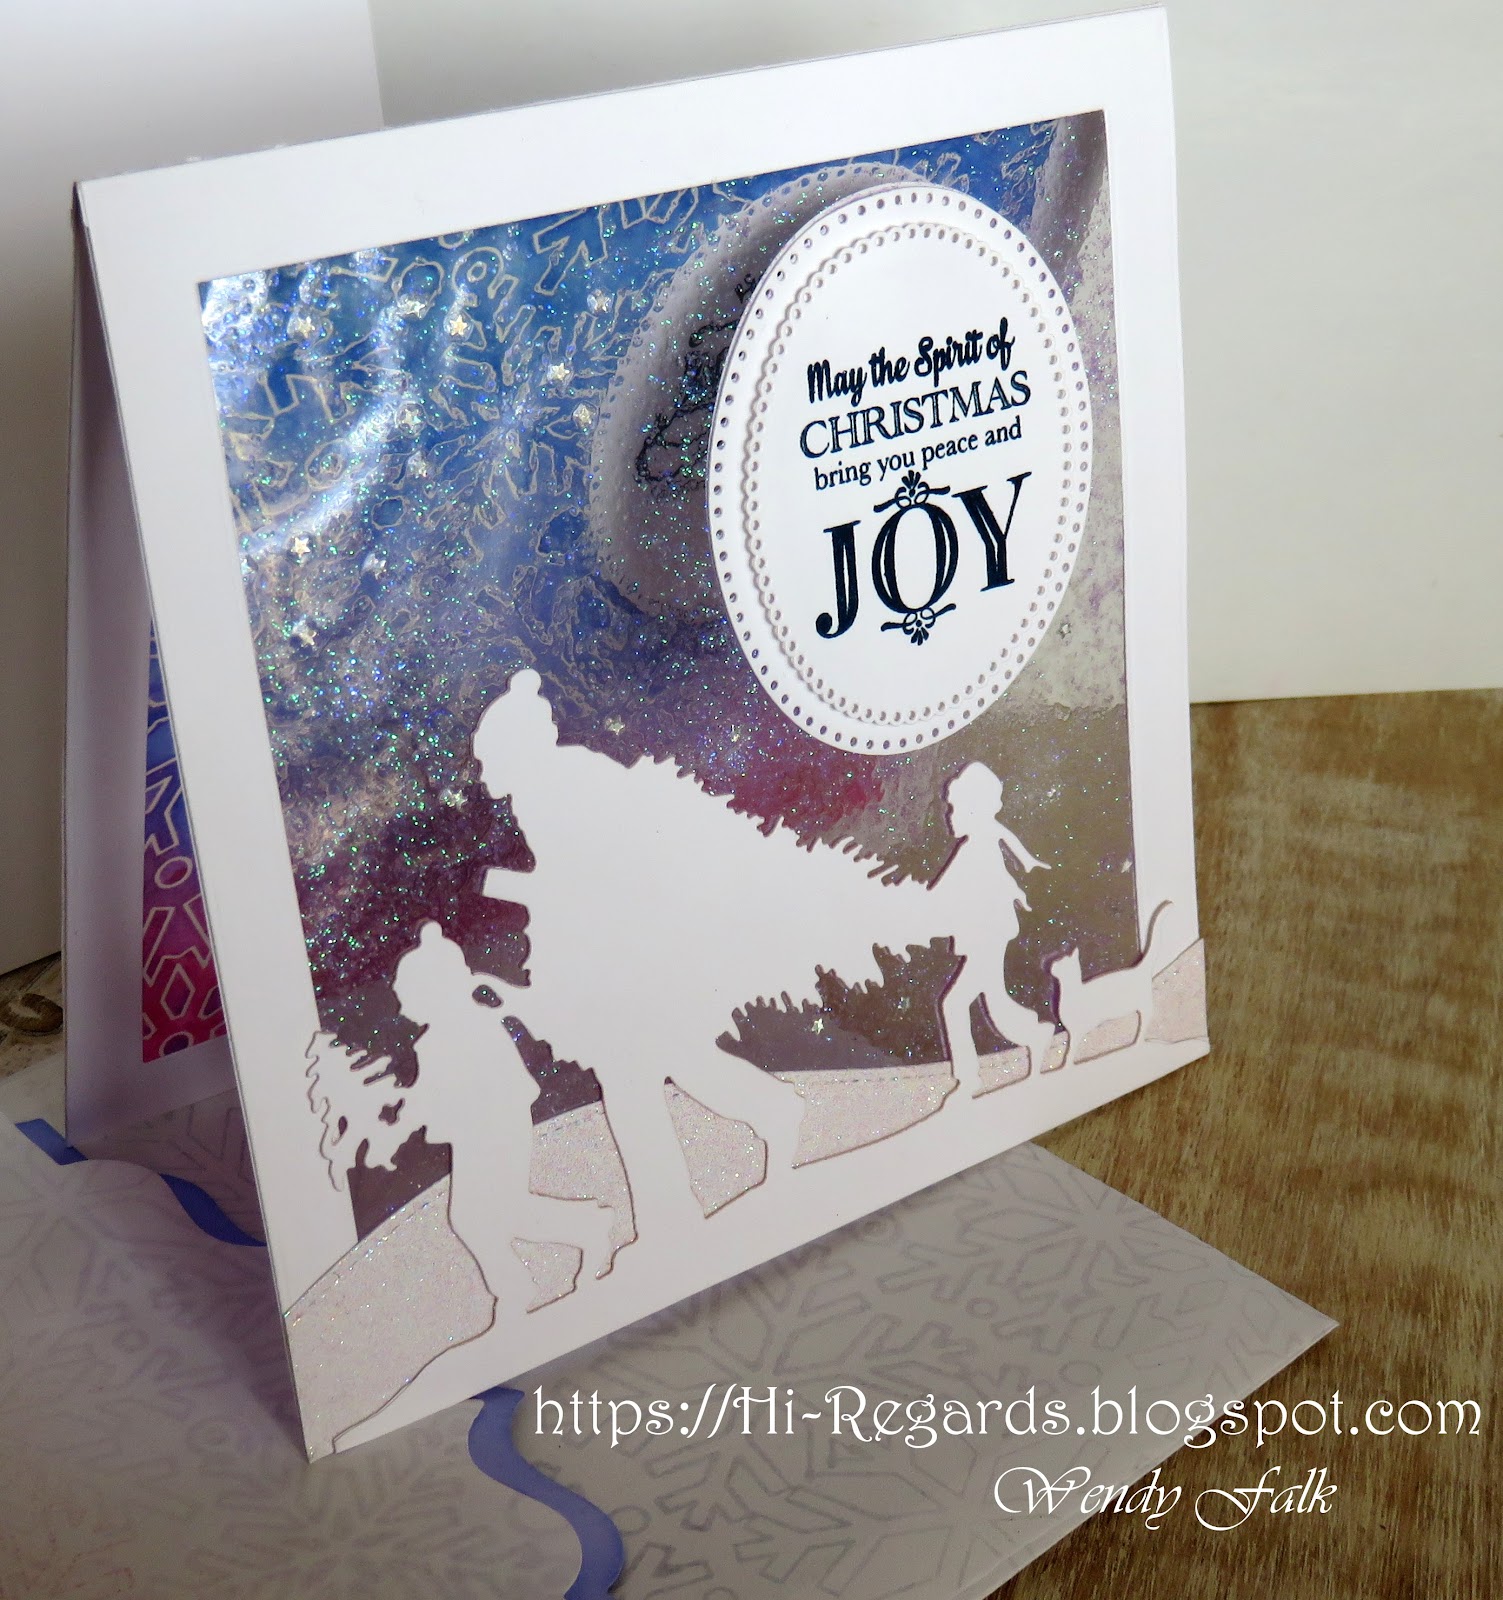
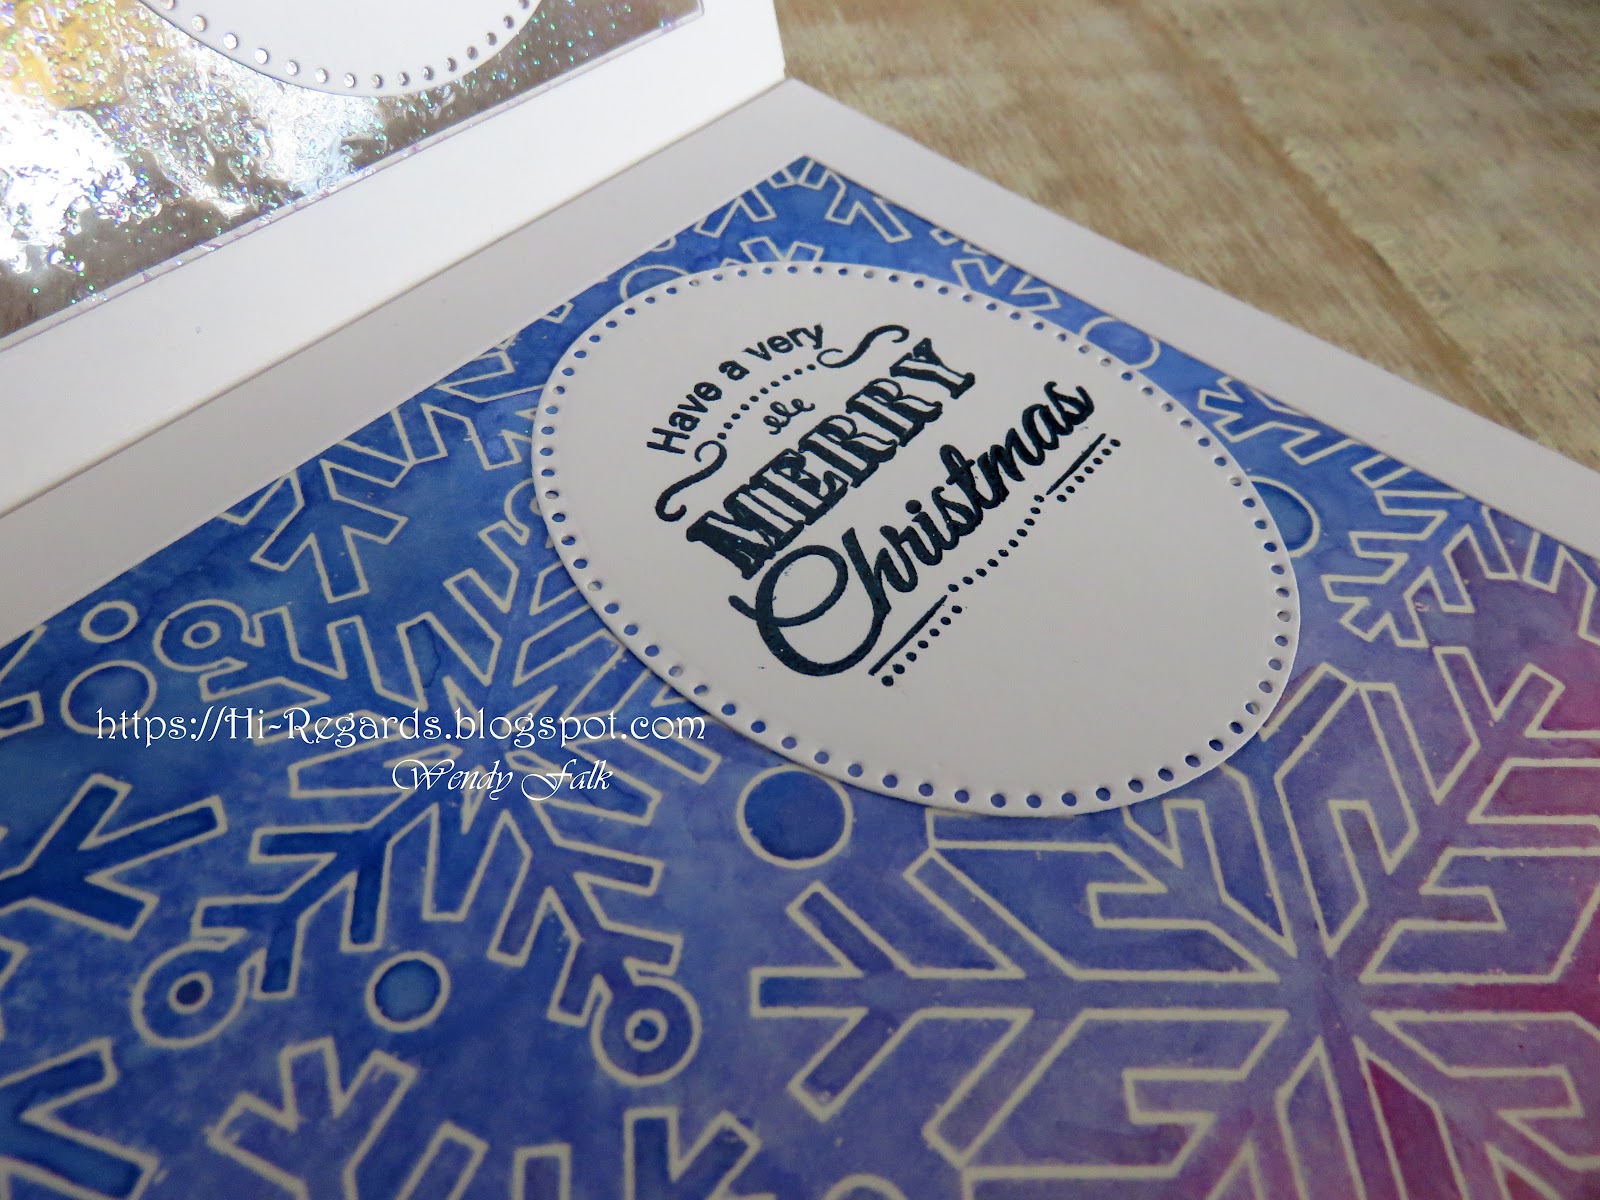
 Ranger Perfect Pearls in the water adds a beautiful shimmer to your medium.  I used Tim Holtz Distress Oxide Inks in leu of watercolor because I love the soft look of them and the beautiful way they blend.  But you could use any water reactive colorant! Different ones leave different results.

Because the iron off results in a white outline (or whatever color of paper is beneath the clear embossing) the effect is the reverse of using the stamp conventionally, (which would leave an inked outline instead of an inked background).  I love to use my supplies in as many ways as possible, and what a beautiful way!

I have also discovered another great benefit to iron-off embossing is the biproduct, sheet of "transfer" paper.  I will quickly describe the process below if you are not familiar with it and link a fun YouTube video I found very helpful!
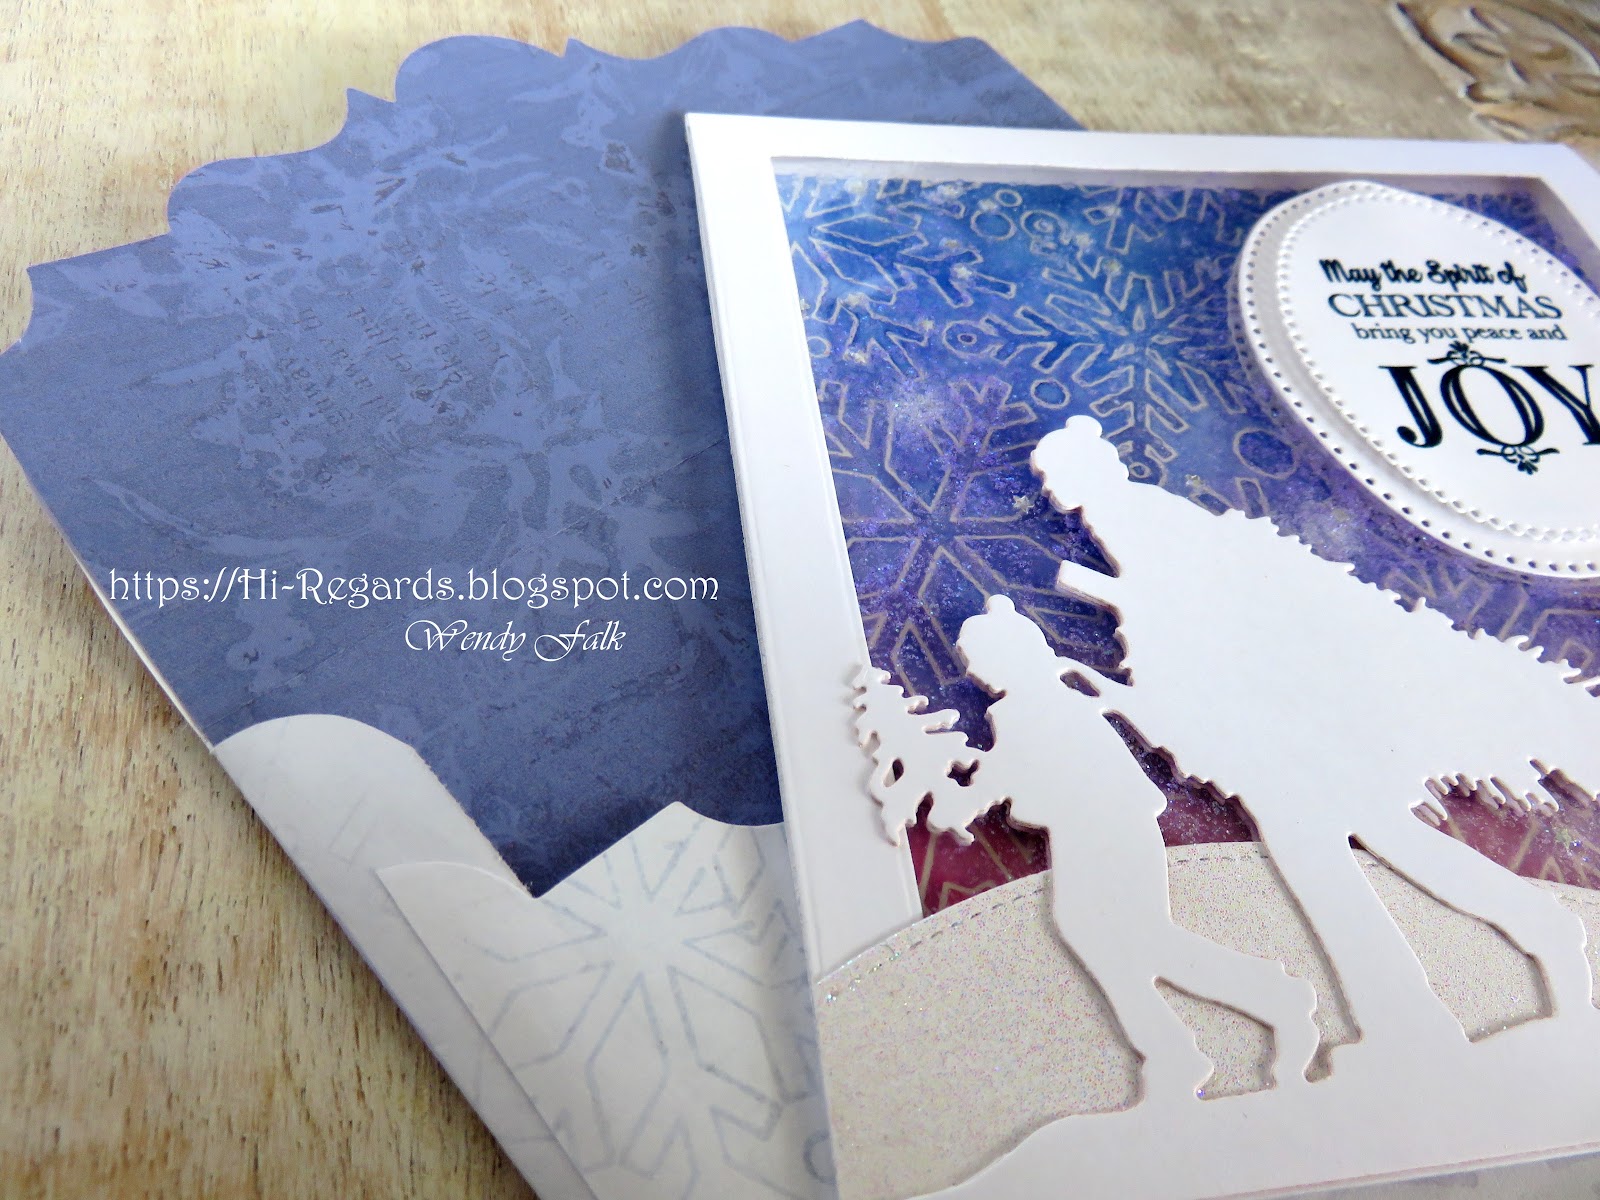
I used ledger size copy paper as my iron off sheet.  Then I used that copy paper to fashion a matching envelope!  To give the envelope a little extra pop I die cut the flap and inserted a piece of lightweight colored paper.  It gives a beautiful impact when the envelope is opened up as well as a wonderfully subtle & cohesive look!

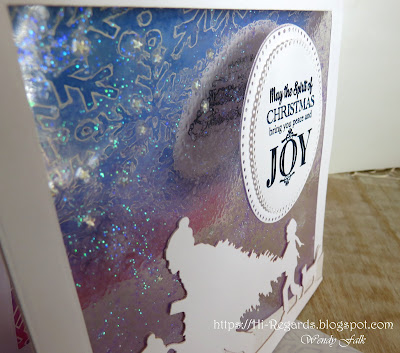
The clear front of the card is the result of glittering the inside of a laminating pouch, laminating and then cutting it to size before "trapping" it in a paper frame.  I LOVE the icy look it leaves!!  I added my silhouette die-cuts and finished the back with the same die-cuts to hide the adhesives!

For a little extra fun I added a hidden sentiment oval inside the card.  The sender can sign the oval on the back of the card flap &/or leave a written message on the back of the card.  

I will be sharing lots of ideas with laminating pouches!  I have found them to be addictive and the unique results are clear!  (ha!! pun intended!!)  Lots of beautiful ways to use them in every season!  Each time I discover something new I can do with them it leads to more experiments and more inspiring ideas!  The price point is great too.  The laminator was only $20 and the sheets I found were about $17 for a box of 200/3ml!! 

Thanks for stopping by!  I really enjoy your comments so please feel free to share your thoughts and ideas below.  Have a great day!!

                                                                                                       
Basic Steps to Iron-Off Embossing:

  1. clear heat emboss your image on heavy cardstock or watercolor paper
  2.  Saturate your image/paper with inks (water reactive colors)
  3. Spray with water (more water to make colors move around a lot, less for a subtle or speckly look - I used lots of water & swirled it around)
  4. After the paper is thoroughly dry use an iron on its hottest setting to remove the embossing. Use a stack layered like this: bottom - thin dish towl (to protect your flat hard surface. I use a glass cutting board), middle - project with image facing up, top - a sheet of copy paper on top of entire image (make sure your iron only ever touches the copy paper on the top of the stack.
  5. Iron slowly without letting the top paper move and all of the embossing powder will wick up and transfer to the copy paper, leaving a faint, nearly clear outline. Once you can see the transfer is occurring you can lift the paper.  If it cools first it will stick to your project so I lift the copy paper right as I lift the iron.  Inspect your original for any shiny spots.  If there are, iron them off with a fresh piece of paper.

iron off video: https://www.youtube.com/watch?v=d3BiE8GyB1c


Wednesday, July 26, 2017

Sing

Hello Again Fellow Paper Craft Lovers!!  I am really excited to share my latest with you!  The birds are part of the Unity Stamp Co KIT OF THE MONTH from the Always Been You 12/16 set.  I just love them & have lots of plans for them :)  Spring & Summer are just the perfect time to share them!

After water coloring the birds I put a soft gray wash behind them.  I had so much fun layering colors and embossing the various pieces. The little banners are made with washi tape layered on cardstock and the tumble of flowers with tiny gem centers were rubbed with a stylus to give them a 3D effct and glued down in the centers only.  For a full supply list see the end of this post :)


It's always fun to make the back a little special!


SUPPLY LIST:
Embossing Folders: Cricut Cuttlebug “Bit of Paisley” & Sizzix Stampin’ Up! Script
Flower Die: Spellbinders Shapeabilities Cherry Blossoms,
Stamped Sentiment: Unity Stamp Co “Devoted”

Be sure to check out the following blogs & challenges where I have entered this card!

Tuesday, May 30, 2017

Anchors - Frame it up!

I have to admit it.  The following flurry of my posts are a direct result of deeply desiring to win the $50 Power Poppy stamps is offering in their May challenge, Frame It Up!


I like great backgrounds and adding a hollow frame so that the card is decorated, but the beauty of the background isn't lost in the process!!  Here is one using mostly embossing and die cuts.  The sentiment is from Impression Obsession and the Anchor die is Spellbinders - Shapeabilities In'spire dies - Anchors Away.  Using the plastic packaging from one of my dies I used a Kaisercraft Embossing Folder laid over white to help the embossing really pop and layered on the rest :)

Hope you've enjoyed this post