Community Favorites

Showing posts with label die cuts. Show all posts

Sunday, September 18, 2022

Making it Clear


Snow is such a fun theme to work with.  There are so many styles of snow too.  This gorgeous background stamp is from Simon Says Stamp and works great in a variety of ways.  Here is an example of an iron off technique that leaves the paper silky smooth after first clear heat embossing & applying lots of water color.

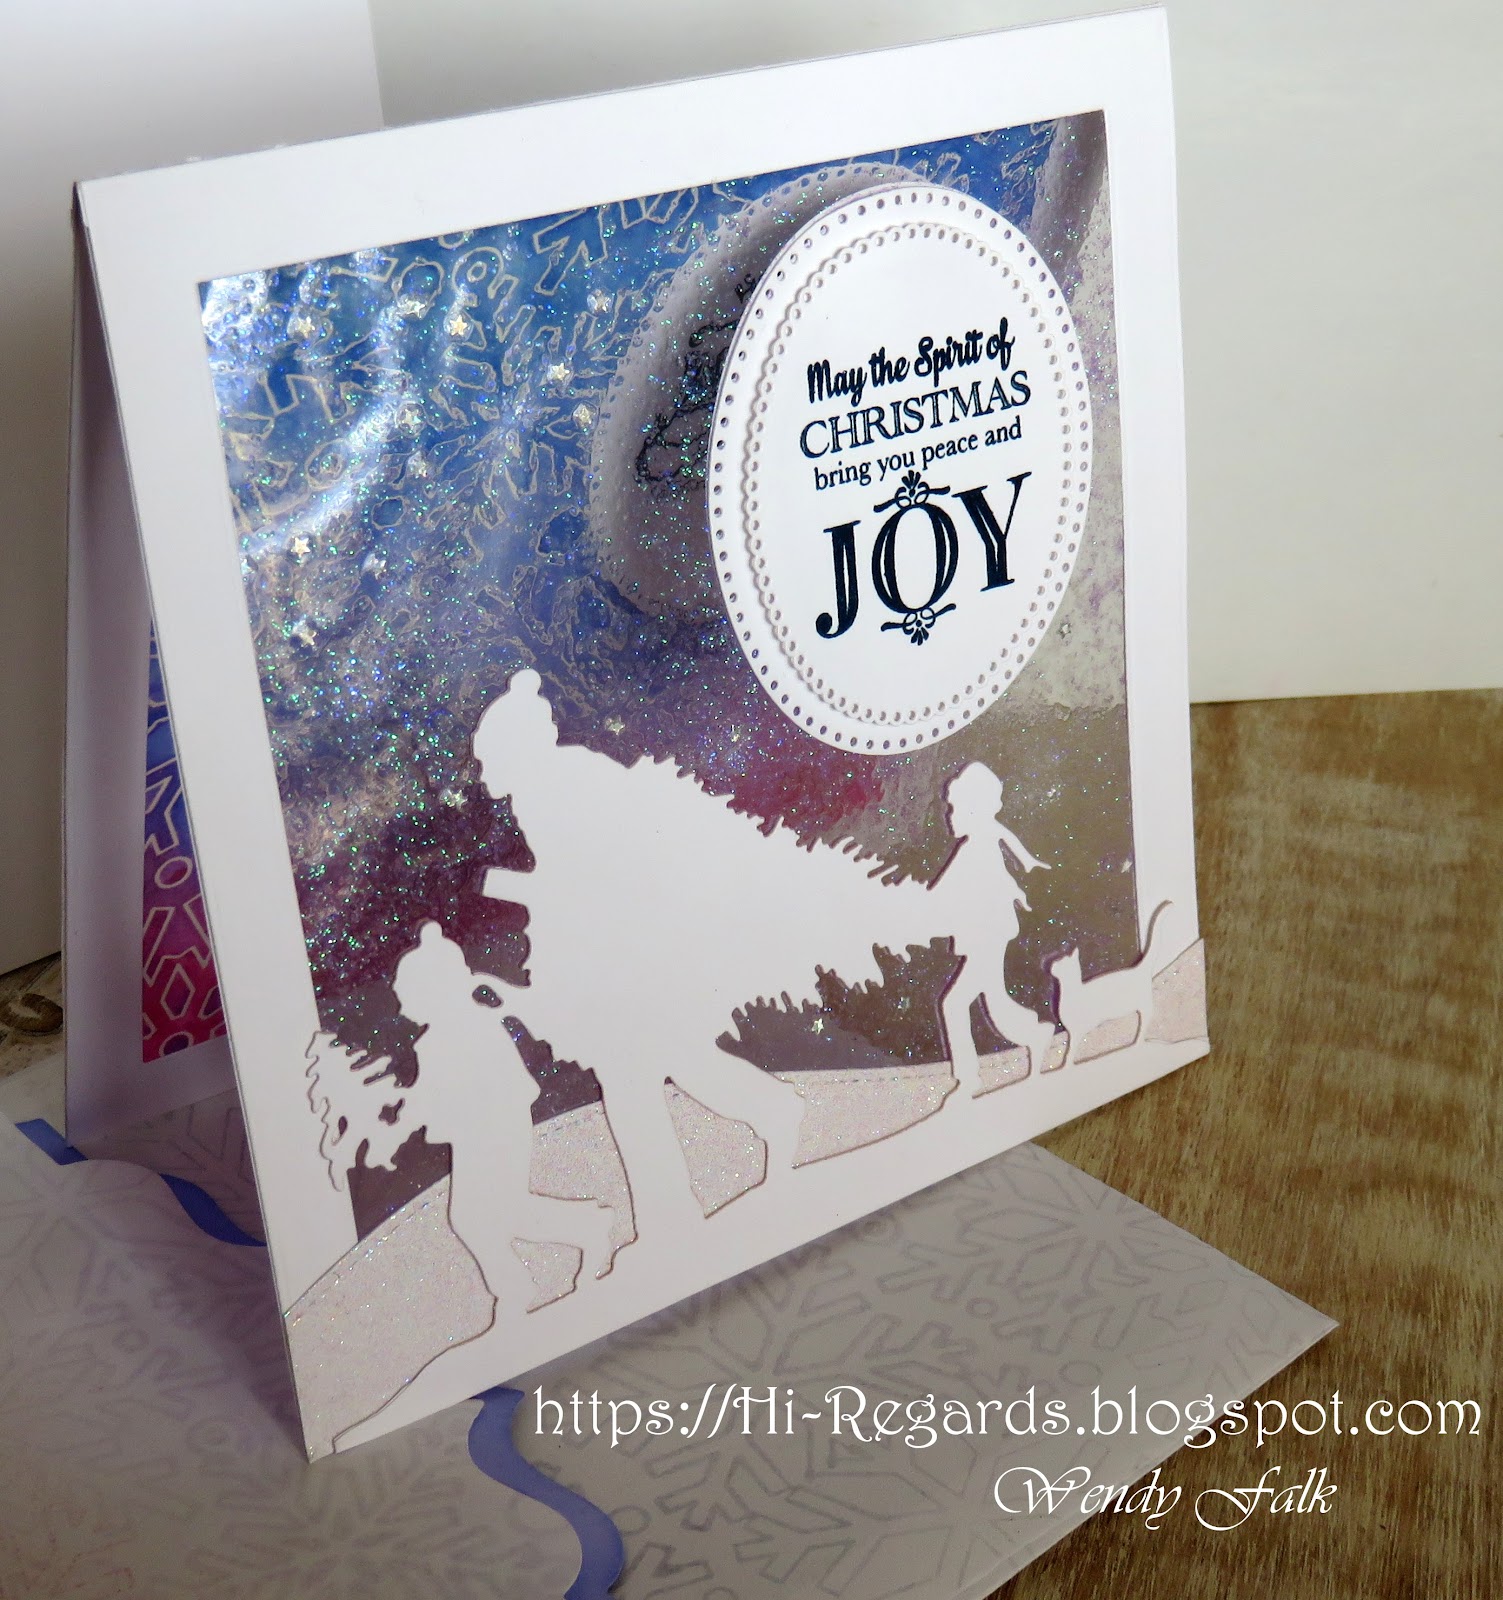
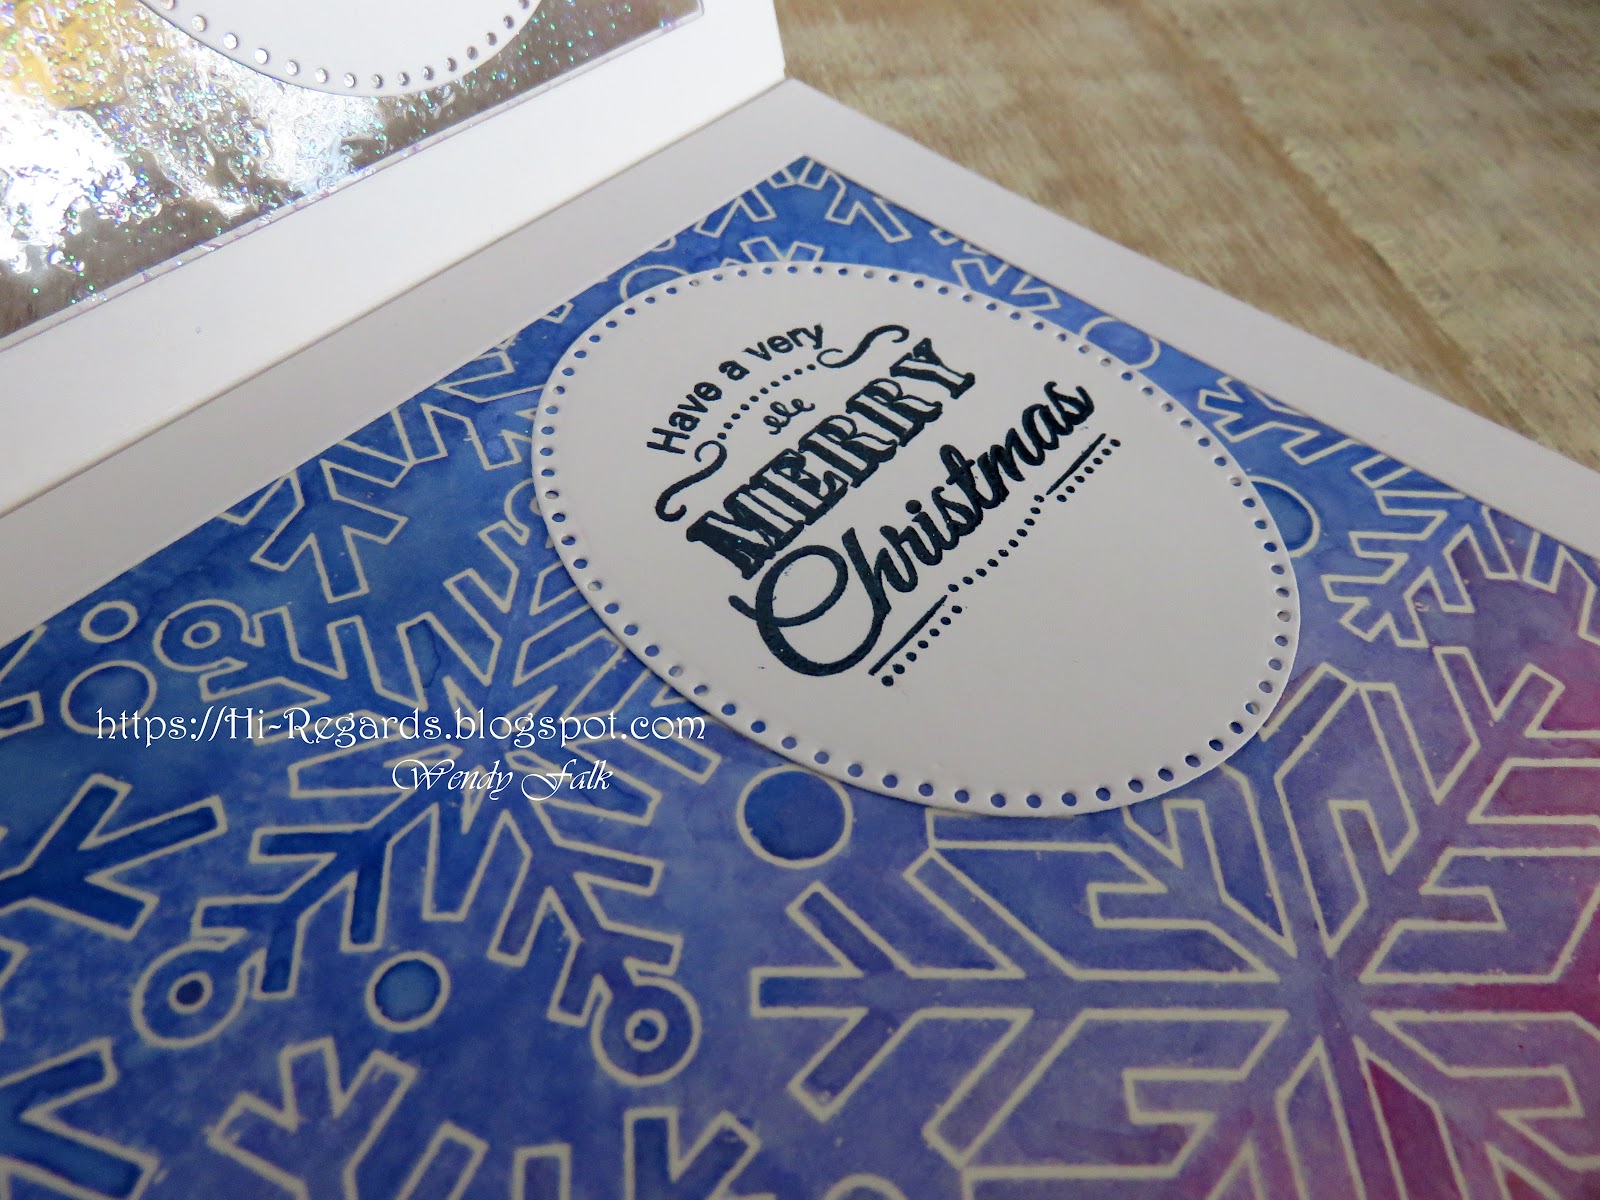
 Ranger Perfect Pearls in the water adds a beautiful shimmer to your medium.  I used Tim Holtz Distress Oxide Inks in leu of watercolor because I love the soft look of them and the beautiful way they blend.  But you could use any water reactive colorant! Different ones leave different results.

Because the iron off results in a white outline (or whatever color of paper is beneath the clear embossing) the effect is the reverse of using the stamp conventionally, (which would leave an inked outline instead of an inked background).  I love to use my supplies in as many ways as possible, and what a beautiful way!

I have also discovered another great benefit to iron-off embossing is the biproduct, sheet of "transfer" paper.  I will quickly describe the process below if you are not familiar with it and link a fun YouTube video I found very helpful!
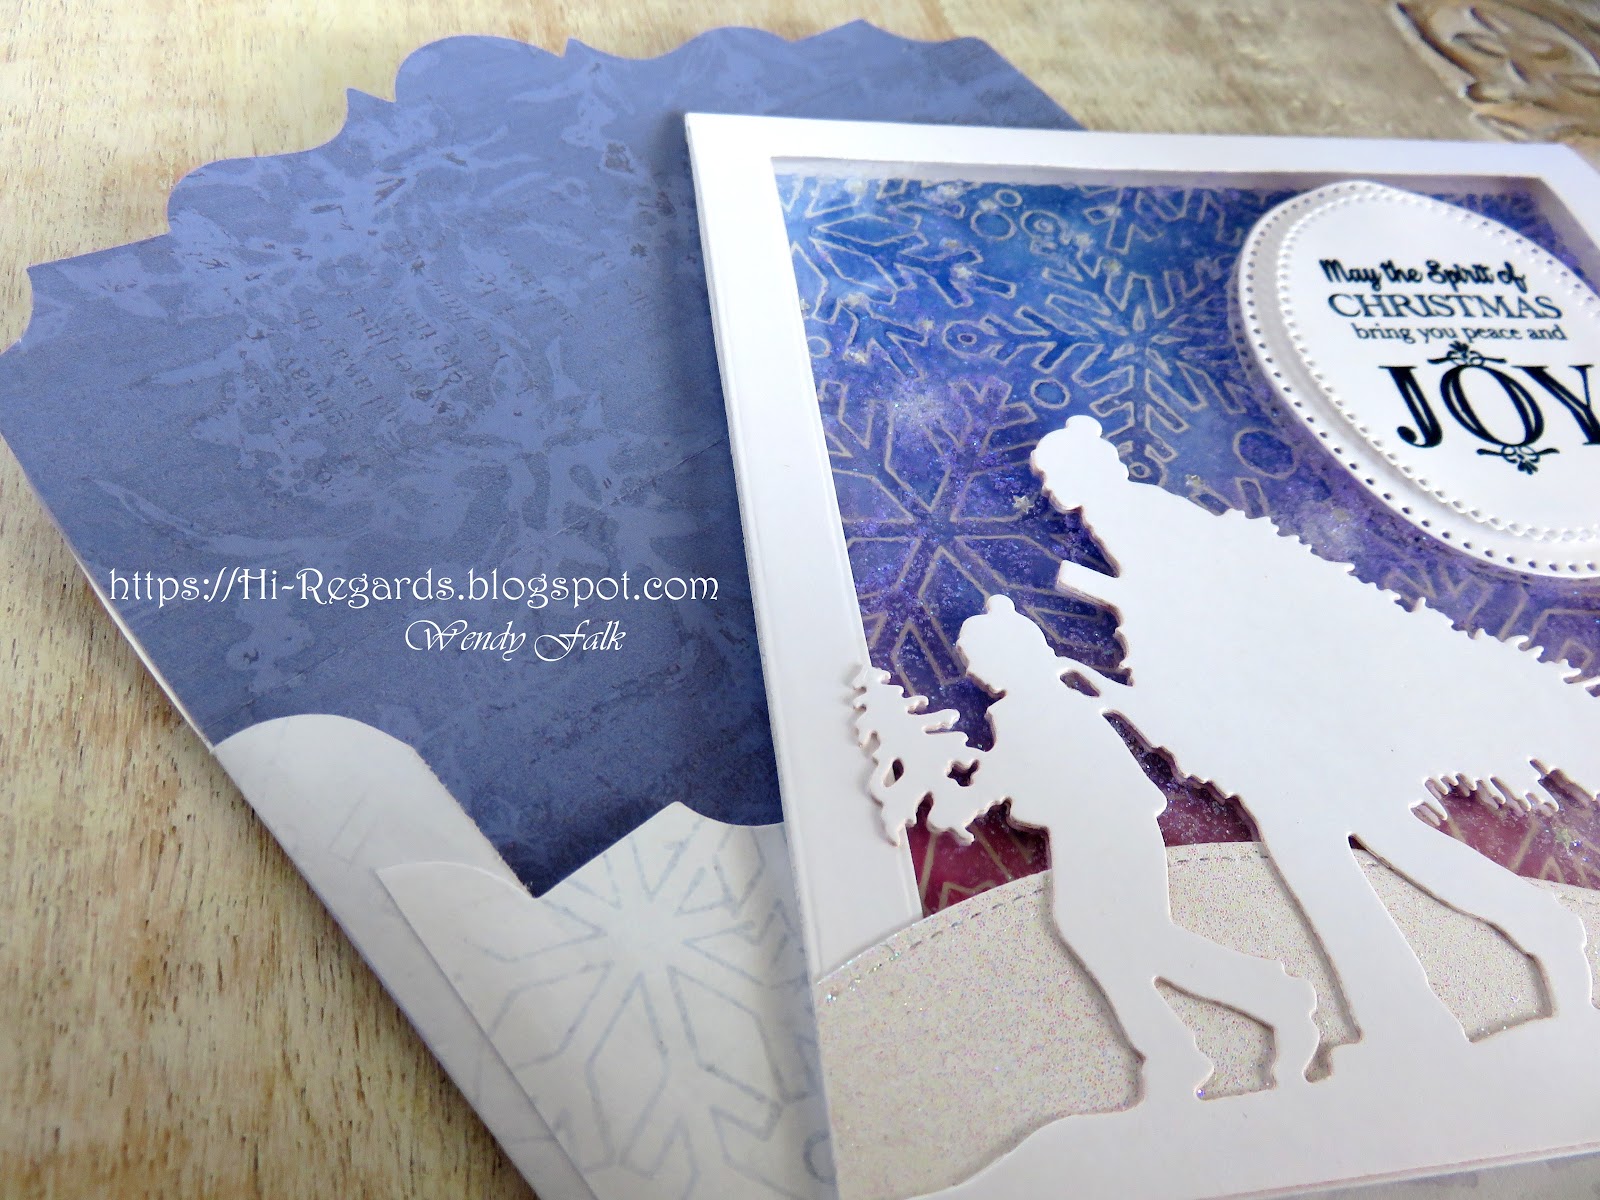
I used ledger size copy paper as my iron off sheet.  Then I used that copy paper to fashion a matching envelope!  To give the envelope a little extra pop I die cut the flap and inserted a piece of lightweight colored paper.  It gives a beautiful impact when the envelope is opened up as well as a wonderfully subtle & cohesive look!

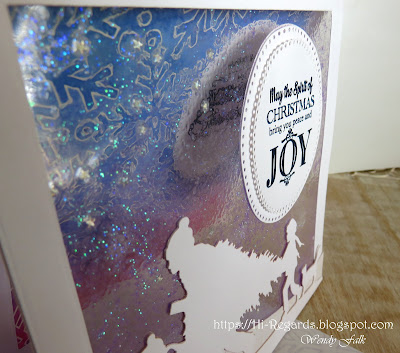
The clear front of the card is the result of glittering the inside of a laminating pouch, laminating and then cutting it to size before "trapping" it in a paper frame.  I LOVE the icy look it leaves!!  I added my silhouette die-cuts and finished the back with the same die-cuts to hide the adhesives!

For a little extra fun I added a hidden sentiment oval inside the card.  The sender can sign the oval on the back of the card flap &/or leave a written message on the back of the card.  

I will be sharing lots of ideas with laminating pouches!  I have found them to be addictive and the unique results are clear!  (ha!! pun intended!!)  Lots of beautiful ways to use them in every season!  Each time I discover something new I can do with them it leads to more experiments and more inspiring ideas!  The price point is great too.  The laminator was only $20 and the sheets I found were about $17 for a box of 200/3ml!! 

Thanks for stopping by!  I really enjoy your comments so please feel free to share your thoughts and ideas below.  Have a great day!!

                                                                                                       
Basic Steps to Iron-Off Embossing:

  1. clear heat emboss your image on heavy cardstock or watercolor paper
  2.  Saturate your image/paper with inks (water reactive colors)
  3. Spray with water (more water to make colors move around a lot, less for a subtle or speckly look - I used lots of water & swirled it around)
  4. After the paper is thoroughly dry use an iron on its hottest setting to remove the embossing. Use a stack layered like this: bottom - thin dish towl (to protect your flat hard surface. I use a glass cutting board), middle - project with image facing up, top - a sheet of copy paper on top of entire image (make sure your iron only ever touches the copy paper on the top of the stack.
  5. Iron slowly without letting the top paper move and all of the embossing powder will wick up and transfer to the copy paper, leaving a faint, nearly clear outline. Once you can see the transfer is occurring you can lift the paper.  If it cools first it will stick to your project so I lift the copy paper right as I lift the iron.  Inspect your original for any shiny spots.  If there are, iron them off with a fresh piece of paper.

iron off video: https://www.youtube.com/watch?v=d3BiE8GyB1c


Monday, October 26, 2020

Embossing Folder Autumn Monoprints

 Hello, and thank you for visiting my blog!  Autumn is my favorite "color" season so I tend to make a lot of projects in the Autumn, especially since the garden and yard have all been put to bed for the Winter and the kids are out of the house (college and work!) giving me a little extra time to be creative🎨

Here are the cards that came out of some of the Autumn prints! 

I like to get the most out of my craft supplies that I can so I don't cringe too much when I find another "gotta have"!!!  This time I used my little spring birds embossing folder and colored it up with a heavy coat of oil pastels.  Then I made several prints from each color combination I applied, trying to specifically address the iconic colors of each of the 4 seasons!                   


A big "THANK YOU!" to Creative Scrapbooker Magazine for publishing this one in their current Autumn 2020 copy.


I like to get a lot of prints off of each color application.  This is one of the last prints, you can see the color is fading a lot.  I love them, each one is so unique!

If you would like to see more, here's a link to that post "Mono-printing from Embossing Folders"

Meanwhile, If you would like to show off your own results please feel free to post them on my "Hi!" Notes page on Facebook!!  I would love to see them and hear your ideas!

Thanks again for stopping by, Happy Autumn 🍁

Thursday, May 21, 2020

HELLO.....again

Hello again friends!!  Sharing another of my mono-print background creations!  They are each so unique and pretty it's hard to share just one!!  With so much color and movement I decided to keep this card large and mostly naked!
The vintage Stampin' Up! sentiment is open so it hides nothing and the Lindy's Stamp Gang embossing powder is dark and shimmery enough to keep it from getting lost in the background.  The sprigs are happy left overs from earlier card making and they really helped to add a dimensional interest without being plain. Jasper Leaves/Memory Box

The "hello outline" die cuts are thickened with several plain white layers + a pretty "pop!" of color on top :)
a shimmery line of glitter finishes the edges

If you are interested in my mono-printing technique, I will be sharing a quick tutorial soon.  Click the 'follow' link to the left and feel free to also follow by e-mail (below, left) so that you'll be in the know when it posts!

Thanks for stopping by!  Have a beautiful day ~

#papercraft #scrapbooking #monoprinting #watercolor #rubberstamping #stamping #embossing #heatembossing  #distressink #oilpastel #Primamarketing  #simonsaysstamp #poppystamps #kaisercraft #lindysstampgang #memorybox #franticstamper

If you would like some mono-printing information Click Here!

Monday, March 30, 2020

Spring Welcome!

I love this little bird stamp from Unity Stamp Co. & although I've had it for quite some time, this is the first time that I have used it!  I am so pleased with how it turned out!

I started out with a mono-printed background made with a Darice embossing folder (Damask) and Prima oil pastels.  When I spritzed the embossing folder in preparation for printing I added a little gold Perfect Pearls powder to the water so there is a subtle shimmer in the greens ~ I just love it!

I also used a "branch" stamp, inked once and stamped 4 times for different levels of intensity in the branches.  I had every intension of paper piecing the bird into the picture but decided that looking through the branches was wonderful!!

I used 3 colors of Nuvo Jewel Drops in orange, pink and lavender on the 'buds' of the branches.
It is finished with Simon Says Stamps Thanks die and a simple sage card base.

Hero Arts is sponsoring a fun challenge called "Never Seen Ink" and this little bird (and branch actually) fit right into that category for me. Check out all the entries or enter one your self at: https://heroarts.com/blogs/hero-arts-blog/stay-crafty-with-hero-challenge-2

I hope you can hear the cheerful praise coming from this little bird.  My prayers are with you and your families as we, the residents of Earth, combat this virus.  May you be among the people who are loving your neighbor as yourself.  Blessings friends,

Wednesday, November 20, 2019

Hello Winter!


Hello Winter!!  Even after all these 50+ years you still amaze me and fill my heart with wonder!  I was lucky to grow up in wide open spaces and the silent enormity of Winter has always overwhelmed my heart with presence of God.  
There aren't a lot of distractions in a snow scape . . .  Sometimes it seems like endless miles of snow, bare trees, and rolling hills.   I always feel small and vulnerable; just a speck in this awesome universe that speaks to the presence of its creator.
   
The beginning of this card was simply a galaxy background. I followed it with an experimental window I then framed with an emboss only "die". The snowflake circle was left over from another snowy card and I loved the dimension it added to this cosmic background piece!

God bless you this cold & snowy season! I hope you find plenty of time to catch snowflakes and "be still" ………..

Saturday, September 21, 2019

Autumn Scrapbook ~ Recap & all the rest!!


I have had so much fun with this project!  I hope you've enjoyed browsing through it. Here are some closeups and examples of the change-ups that make it so versatile.  The stamped images are all from Unity Stamp Co. with the exception of the circles background (Penny Black) & scrolls (Inkadinkado) on the cover and the Sparkle & Sprinkle digi image on the front cover while the dies and papers  are from various companies.  If you are interested in any of them, leave a comment & I will get back to you with specifics!! Here's a link to fun with the fox as I planned the pages.

First page open: 

Second page:


Third page layout:


Last page layout: 


Front and Back Covers:


Links to the other Autumn Scrapbook posts:
Autumn Scrapbook
Autumn Scrapbook ~ Corner Pockets & Squirrel
Autumn Pocket Pages
Autumn ~ Lift a Flap & Pull Out
Autumn ~ Magnetic Envelope

Other Posts related to this project:

Tuesday, September 10, 2019

Autumn Pocket Pages


Another great word ~ POCKETS!
Pockets are more inspiration for layering! I used matts of different sizes & colors, adding journaling lines to the back of a couple of them. 


I love the rich moody colors in all these Autumn papers!!  It seems that nearly any combination looks great together!  Nice because if you decide you want to switch one of the matts to another page ~ YOU SO CAN!!!


Add * Remove * Flip * Switch * It's all good!!

Here are links to the other Autumn Scrapbook pages in this little book:

             Corner Pockets ~ Squirrel
             Autumn Pocket Pages
             Autumn Lift a Flap & Pull Out
             Magnetic Envelope
             Recap & all the rest
Available as they are posted...

Other Posts related to this project:


Sunday, September 1, 2019

Autumn Scrapbook


Kicking through the leaves. . . mmm!!  I love it!  The colors, the sounds, even the outdoor smell of Autumn!  
What a great season to journal!  Last year I began a small homemade book and although it's taken a some time, I feel it is complete!!  


A great place I think to add pictures of little Autumn jaunts with loved ones; the very best leaves the forest floor has to offer;  favorite poems. . . .


I adore "tuck-ins" ~ something so appealing about interactive pages


elements that allow for happy "surprises"
 

like pull outs, lift a flaps, pockets and slide unders.


I will be posting the pages over the next few days ~ I hope you'll stop in & enjoy! 
LINKS TO OTHER "Autumn Scrapbook Posts"  Corner Pockets ~ Squirrel
             Autumn Pocket Pages
             Autumn Lift a Flap & Pull Out
             Magnetic Envelope
             Recap & all the rest
Available as they are posted...


Other Posts related to this project:
"Autumn Scrapbook Journal Cover"
"The Eyes Have It"