


Win a CGull embossing folder! See rules at the end of this blog!

 Mono-Printing: A form of printing in which each print is a one-of-a-kind
One of my favorite techniques! I have been making dozens of mono-prints lately; maybe because they are so easy, maybe because they are simply beautiful, maybe because once they are done you can add a sentiment and have a beautifully complete card... The reasons go on & on!!

Here is a quick tutorial on how to get some fun results. (and instant gratification!)
Supplies:
Oil Pastels
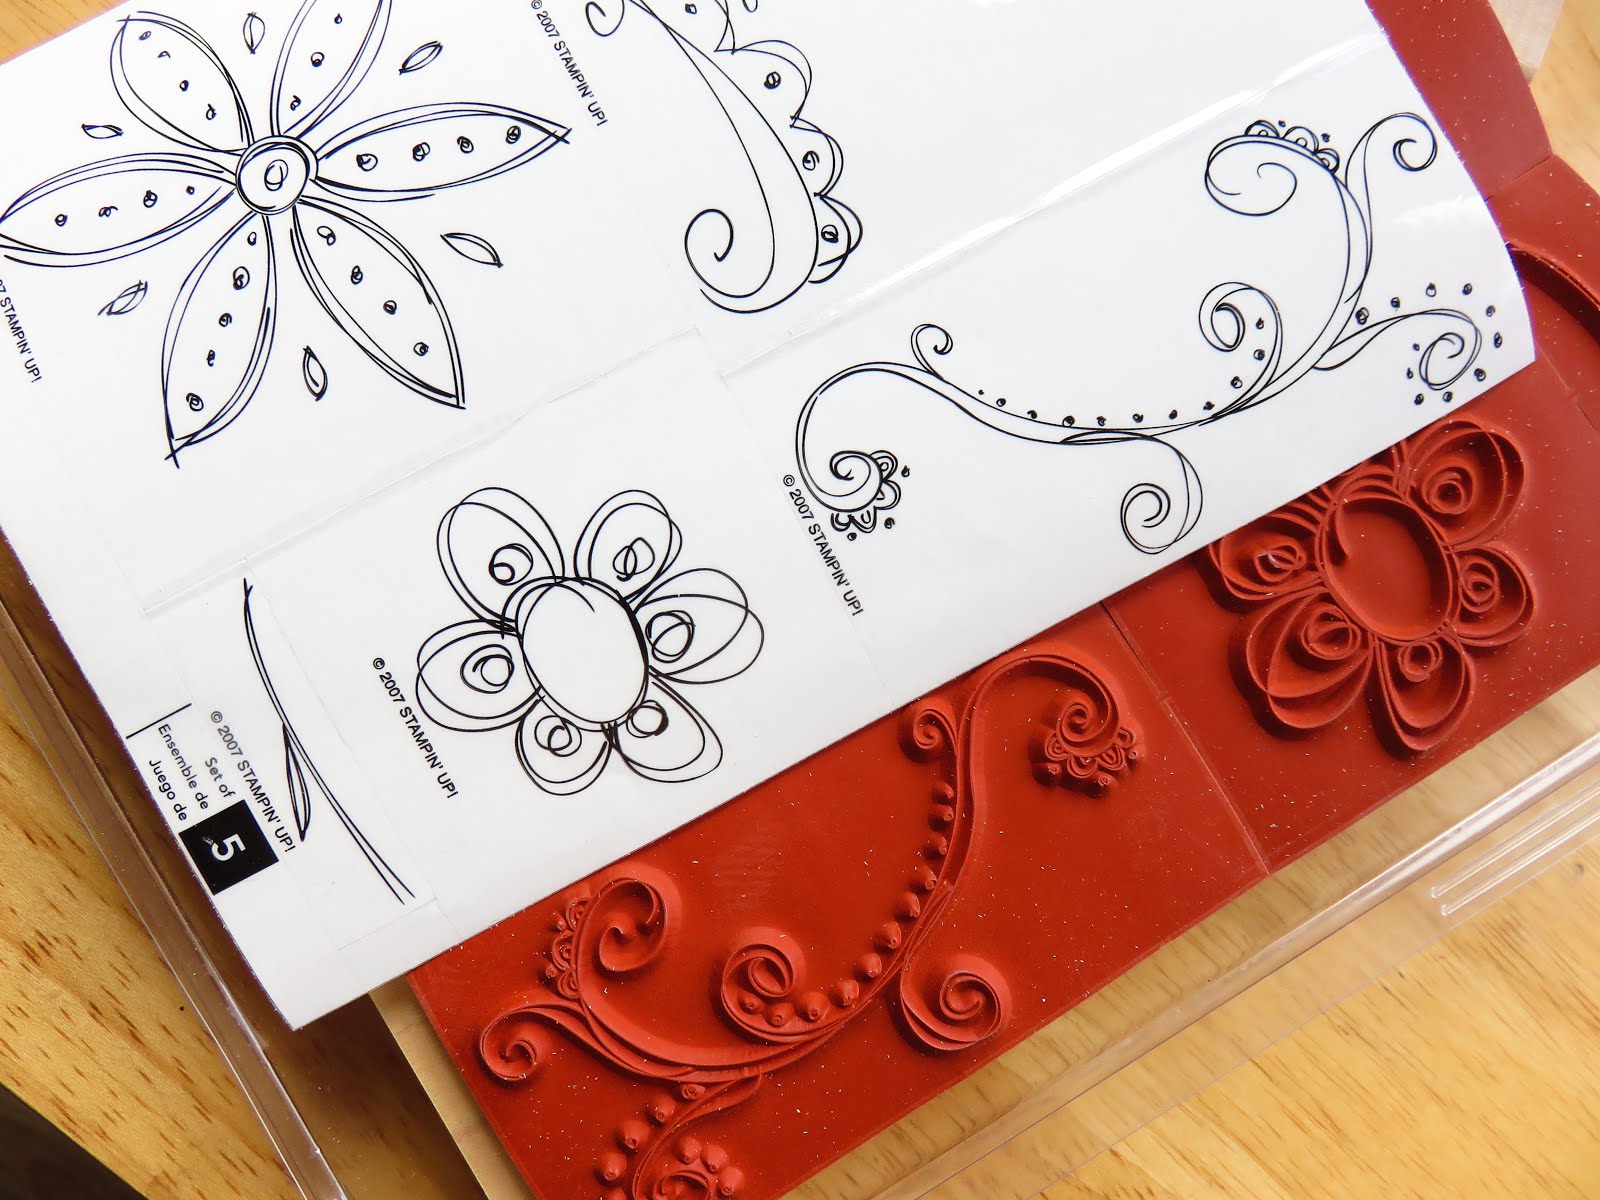
Embossing Folders
Water Mister
Paper

 I use Prima oil pastels, but you could try paints or water reactive ink with equally beautiful but very different results. Add to that any textured surface you can apply your color to. Fabric, pottery, I have even seen mono-prints made from real fish!!! I use embossing folders because they are easy to clean, readily available and come in SOOOO many beautiful patterns! I use plain white 110lb card stock. The results look like water color but you don't need watercolor paper. I encourage you to be adventurous though, and try other types!
 Simply apply the oil pastel to the raised areas of the embossing folder. I don't always cover the entire surface, remember, the color spreads so just a little goes a long way! once you have your colors on just give it a HEAVY mist of water.
 |
| Here the lower image has been dry brushed with inks |

I know the term mono indicates one, but now that you have a colored and wet folder you can pull additional prints that will each be a little different. Spritz, place and pull you next print. I have found that I can get 5 or 6 really nice prints from one color job, sometimes I add a little color here & there before re-spritzing.

Isn't it fun!!! You can take any folder through every season!!
You can also achieve a beautiful shimmering result by simply adding
Perfect Pearls to the water spritzer.

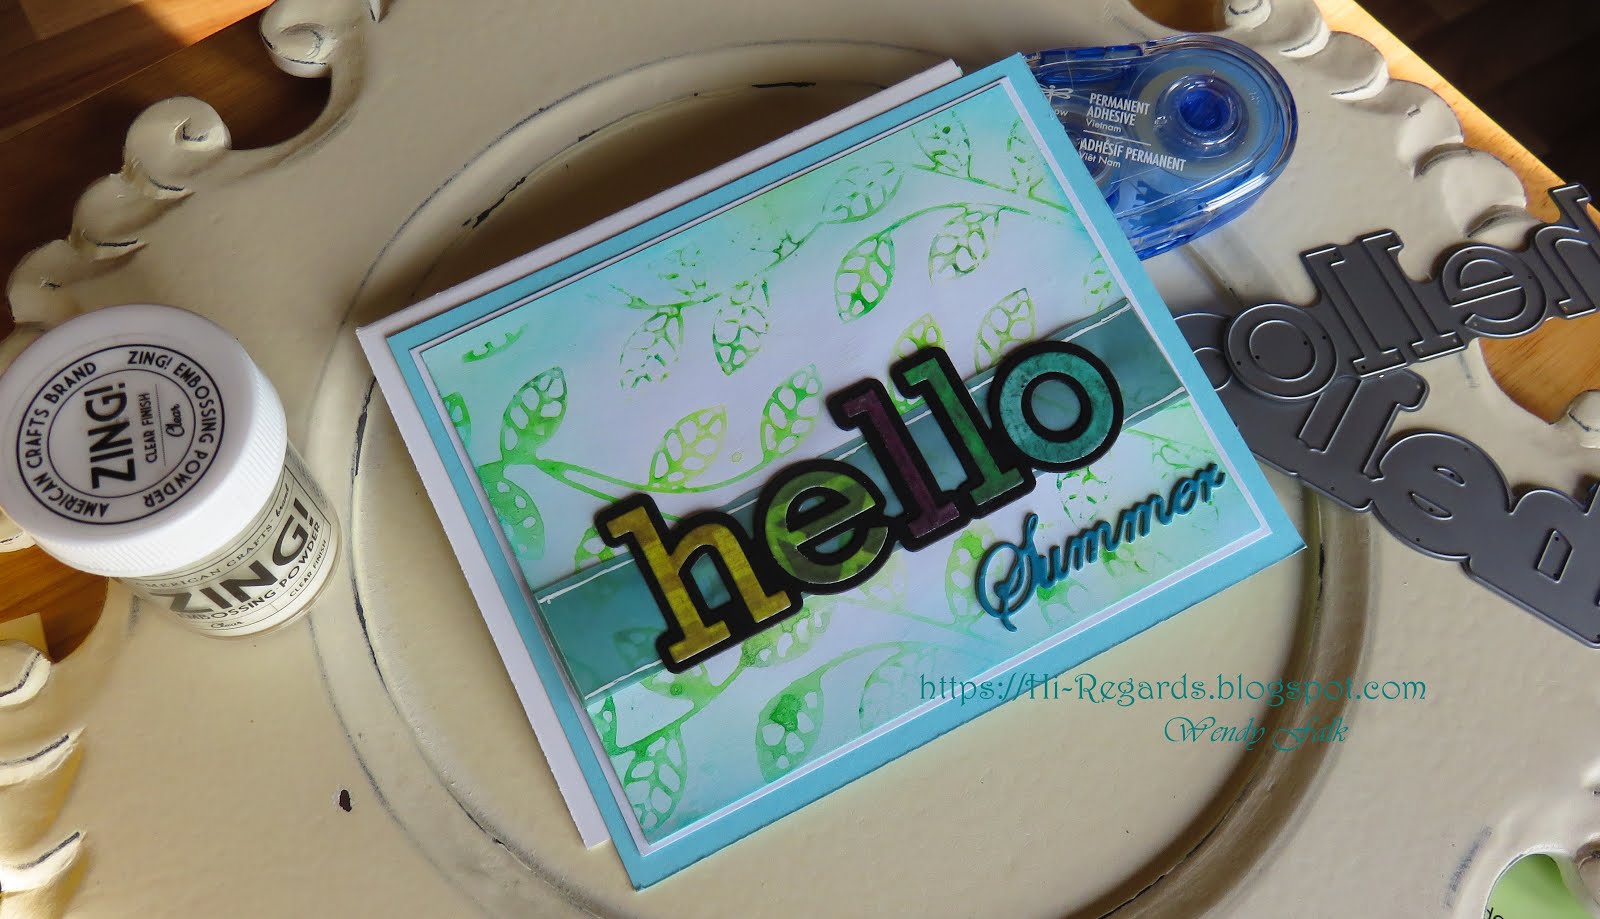

Here are a couple of my finished cards. If you'd like to see more (and I have a LOT!) just click the label below "Mono-Print" and several from this blog will pull up :)
HAPPY MONO-PRINTING!
Feel free to post your results on my "Hi!" Notes Facebook page, we'd all love to seem them!
In fact, I'll be giving away a CGull Leaf Floral embossing folder to one lucky person
who follows this blog, comments below and posts their own mono-print
(does not have to be a finished project) on the "Hi!" Notes FB page!!!
Shipping to Continental US only but everyone is welcome to share their projects!

#papercraft #scrapbooking #fussycutting #monoprinting #watercolor #rubberstamping #stamping #embossing #distressink #oilpastel #sunnystudio #paperstudio #sizzix #cuttlebug #poppystamps #DCWV #UnityStampCo #


